
Building a GPU PC, Part 10: Installing the CPU, Memory, and SSD on the Motherboard

In this installment, we set up the motherboard and its main components.
1. Unboxing the Motherboard
The motherboard we purchased this time is the ASRock Z690 Steel Legend WiFi 6E/D5.
Let's open it up right away.
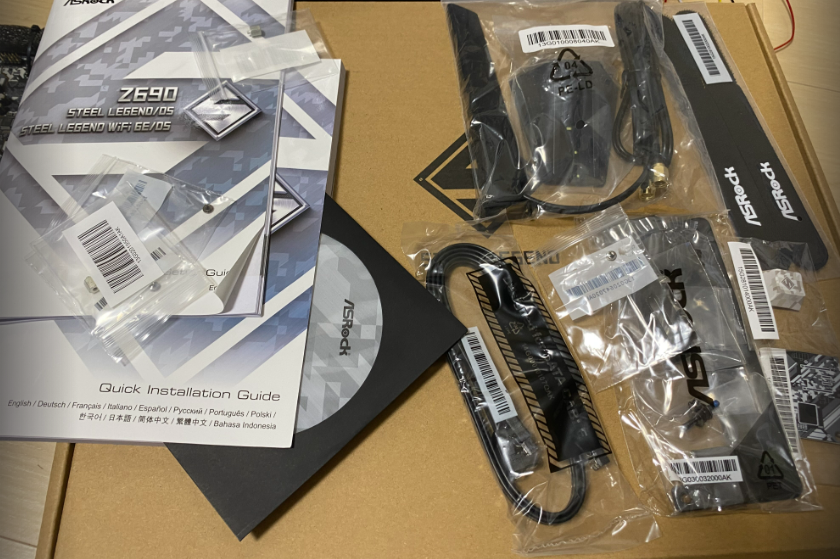
When you open the box, the cables and manuals are stored in a small tray in the upper section.
Next, we open the inner box.
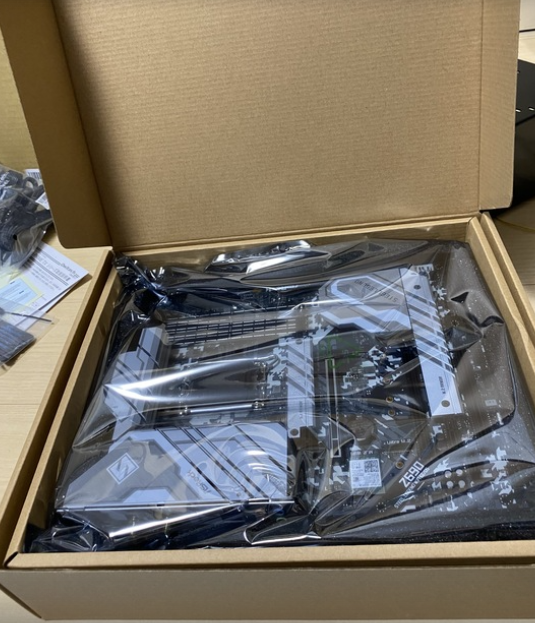
And there is the motherboard.
Beautiful.
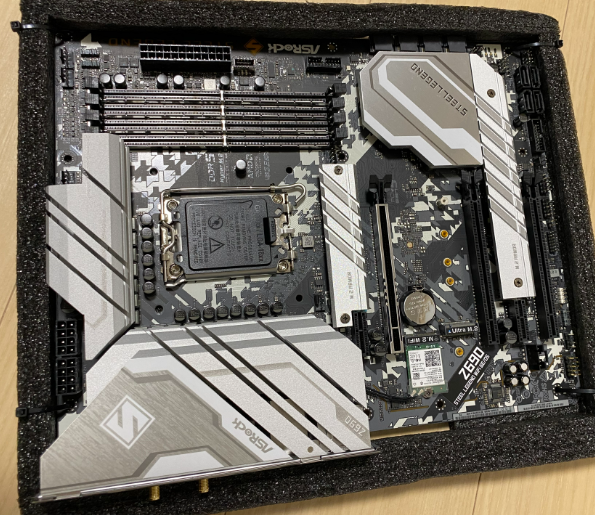
This is where it starts to get exciting.
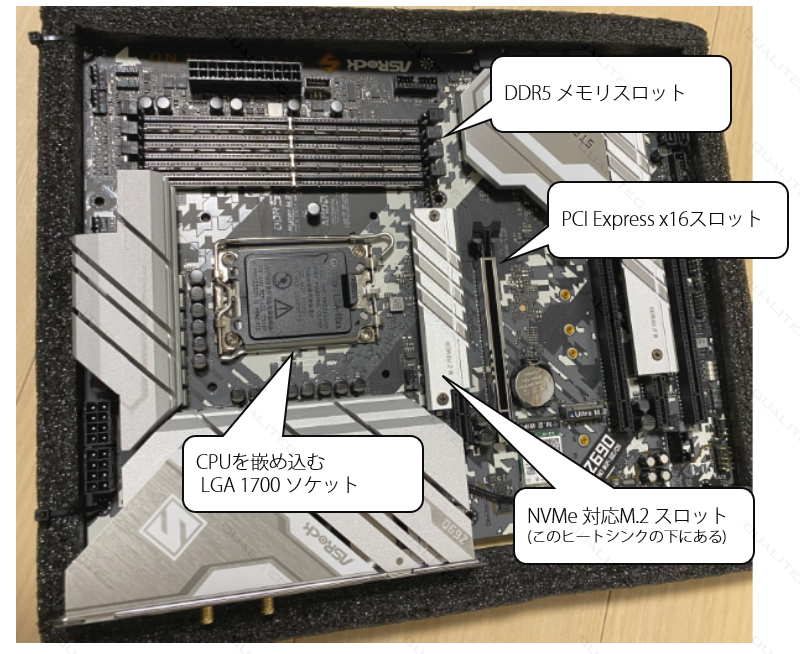
In the center-left of the photo is the LGA 1700 socket, still covered by its protective cap. This is where the CPU goes.
Above the LGA 1700 socket you can see the four DDR5 memory slots where the memory modules are inserted.
Near the horizontal center is the M.2 slot for the SSD. (In the photo it is covered by a heatsink, and the slot sits underneath.)
Slightly to the right of that is the PCI Express x16 slot for the graphics card.
That is the general layout, so let's start installing the main components.
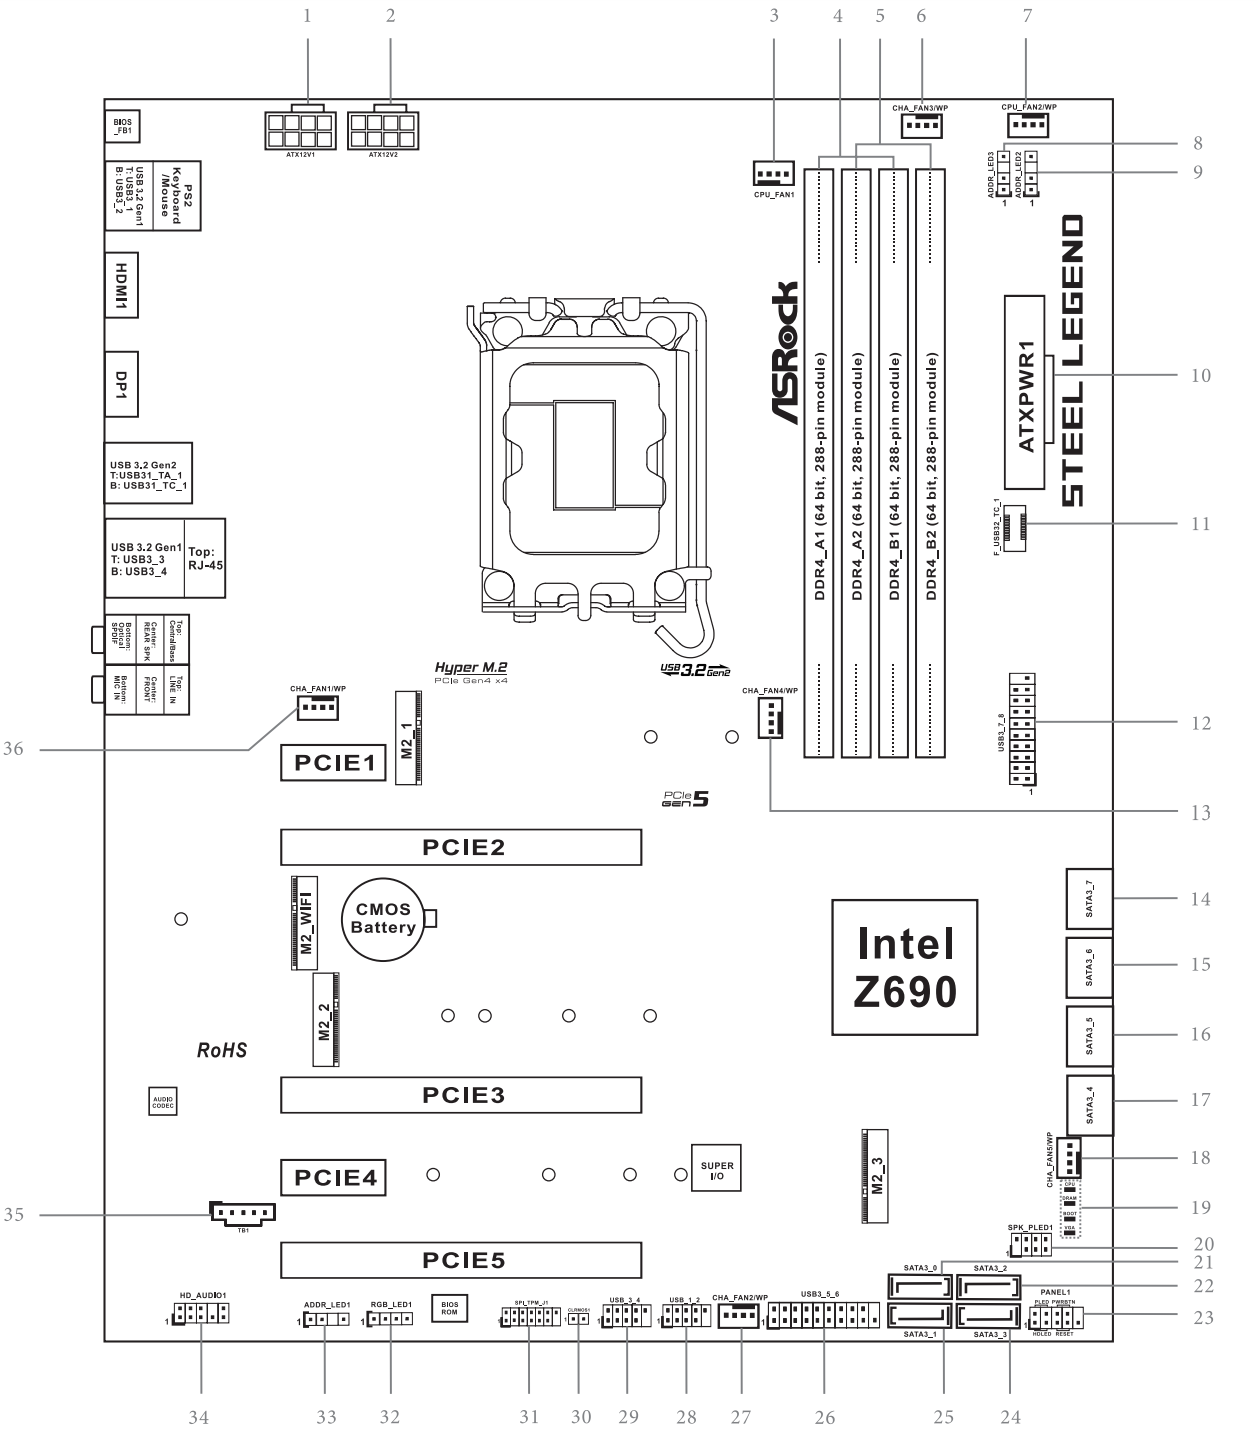
2. Print the Motherboard Wiring Diagram in Advance
The bundled manual includes a wiring diagram, but if possible, it is convenient to print the diagram showing the motherboard's pin layout on a single sheet of paper (enlarged if necessary) before you start assembling.
Having a single sheet at hand is simply more convenient than flipping through the pages of the manual.
3. Installing the CPU on the Motherboard
Now for the assembly work.
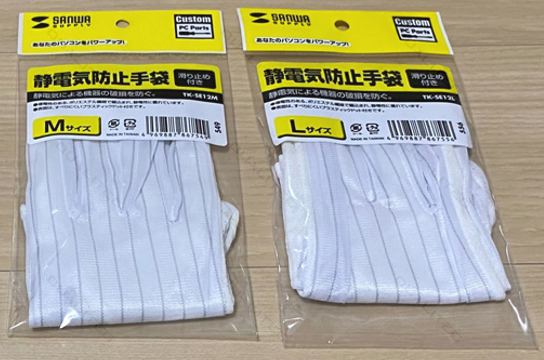
Every part is very delicate, so we work wearing anti-static gloves with a non-slip grip.
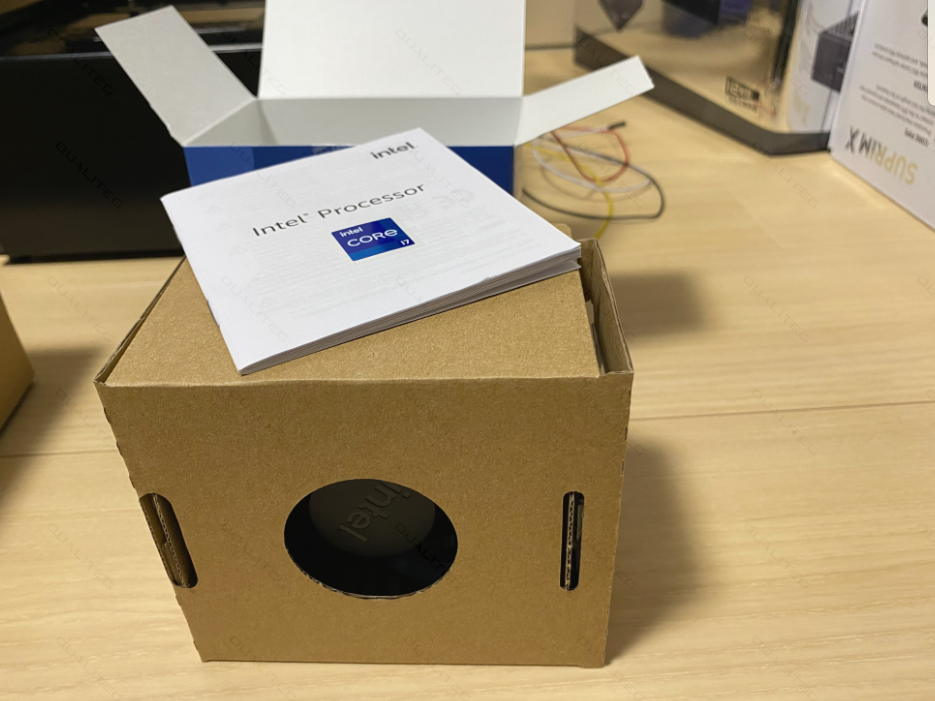
Let's unbox the CPU.
The CPU is an Intel Core i7-12700 from the 12th-generation Intel Core series.
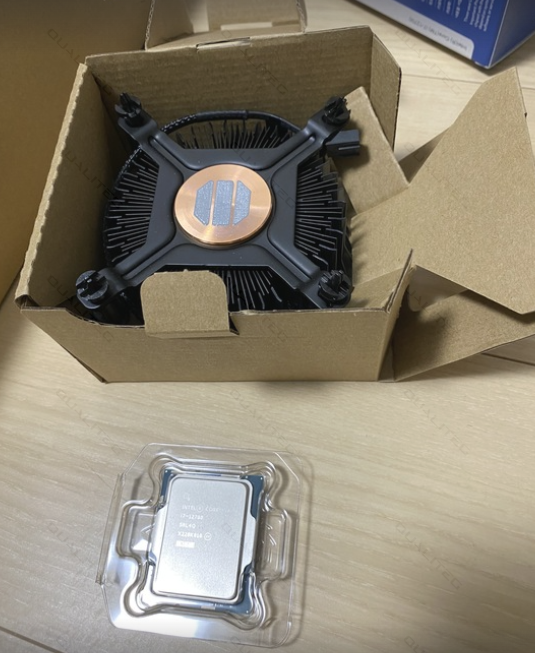
The package contains the CPU itself and the retail (stock) cooler.
Take the motherboard out of the box and place it on a soft, insulating mat.
The LGA 1700 socket comes with a protective cap, so first release the retention lever.
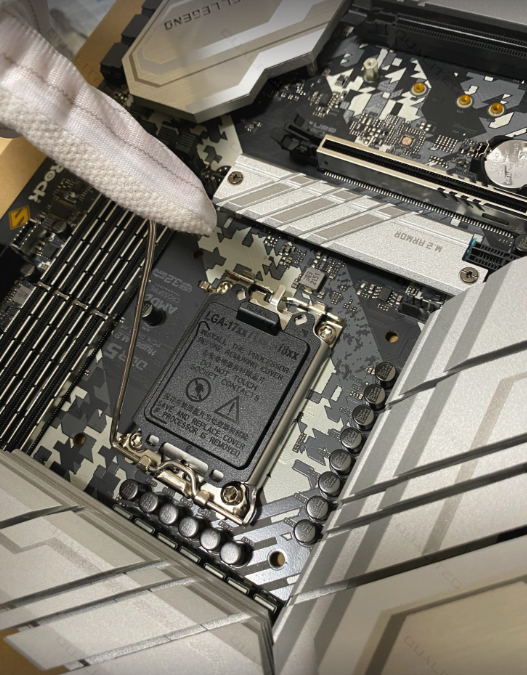
Push the lever down and out to release it, then remove the cap.
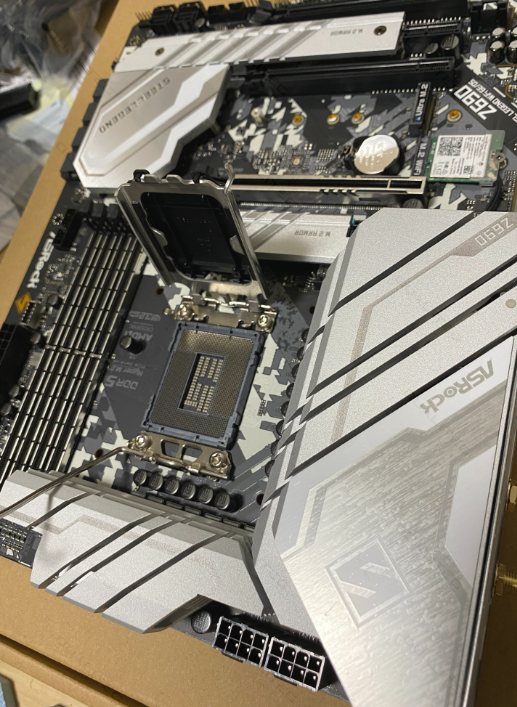
Take the CPU we just unboxed out of its protective case.
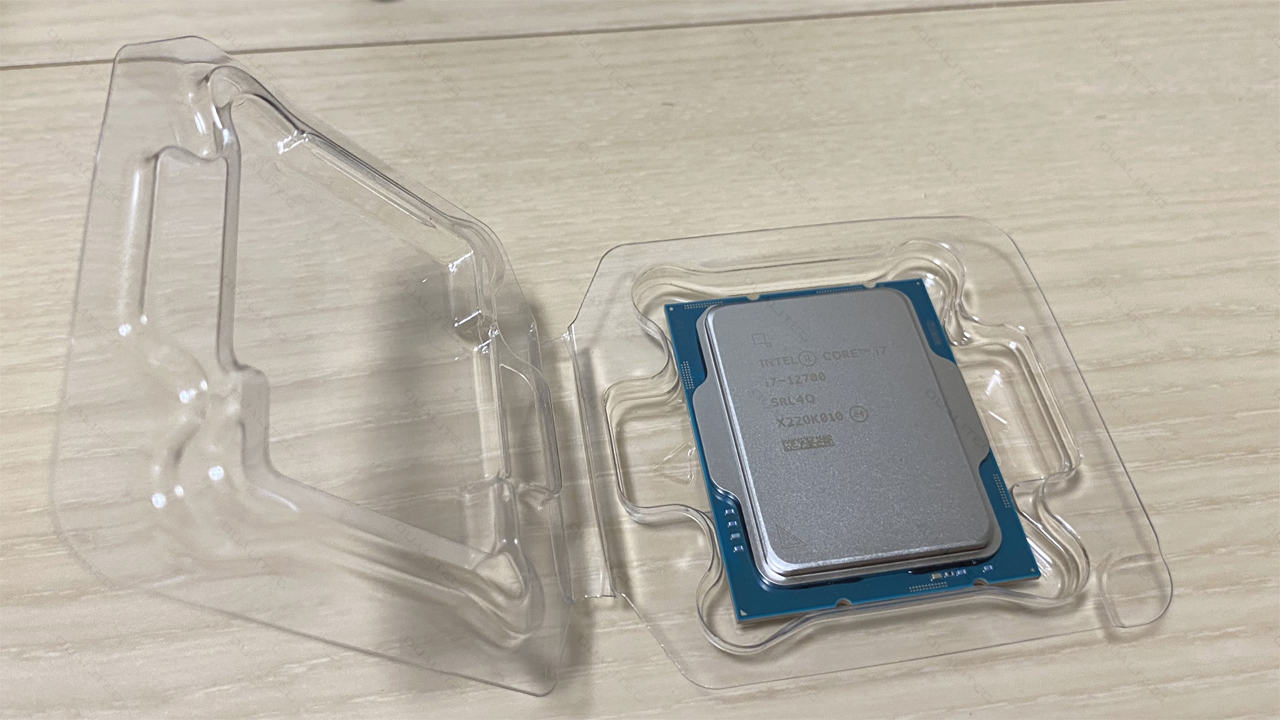
Place the CPU into the open LGA 1700 socket. Check the notches to make sure the orientation is correct, and once it is seated, close the retention lever again.
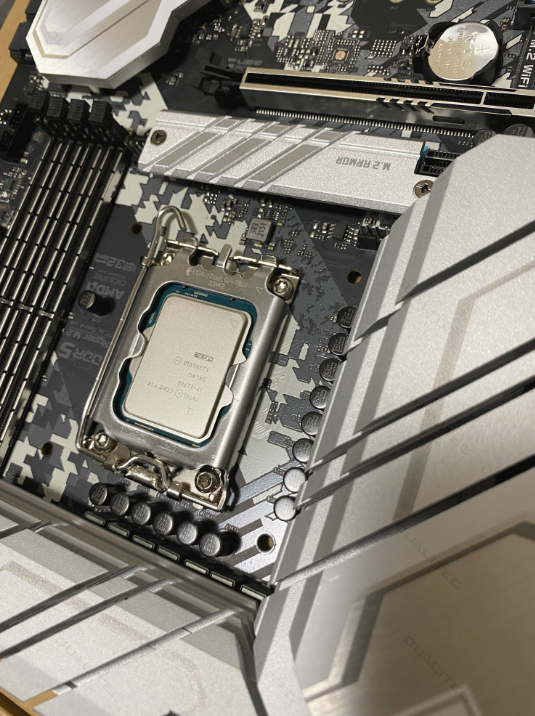
Note that we do not attach the CPU cooler yet.
The cooler is large, and if it is installed first it gets in the way when installing the memory and other components.
4. Installing the Memory
Next, we install the memory.
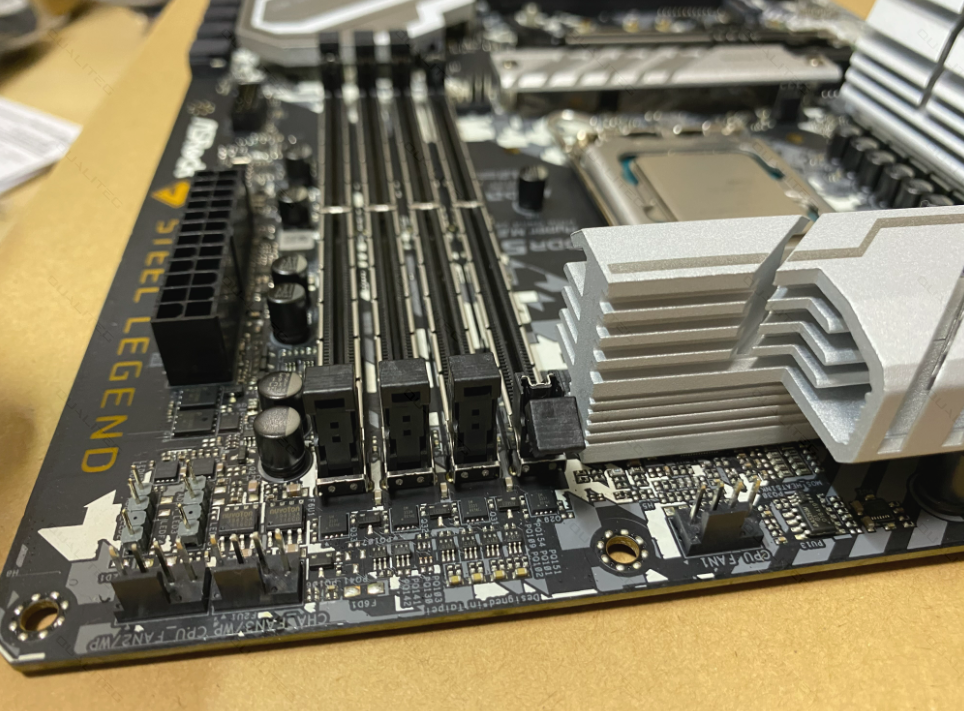
These four slots lined up in a row are the memory slots, and we insert the memory modules here one at a time.
First, open the locking latches.
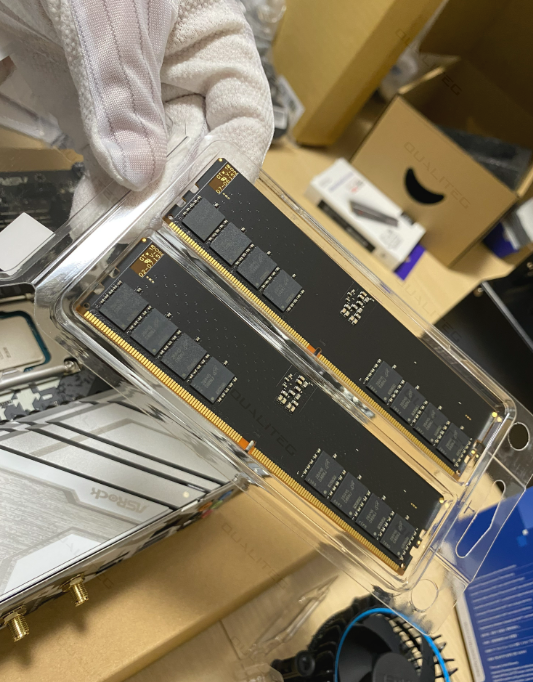
Take the memory modules out of their packaging. The memory we are using today is Crucial DDR5 for desktops, 32 GB x 2.
Insert the memory modules into the slots.
Be careful to get the orientation right.
If you feel resistance when pressing gently, check the orientation.
If there is still resistance after flipping the module around, consider the possibility that the standard does not match.
For example, if the motherboard requires DDR5 memory modules but you have bought DDR4 modules, DDR4 is physically keyed so that it cannot be inserted. Forcing it in will damage the motherboard or the memory, so take care.
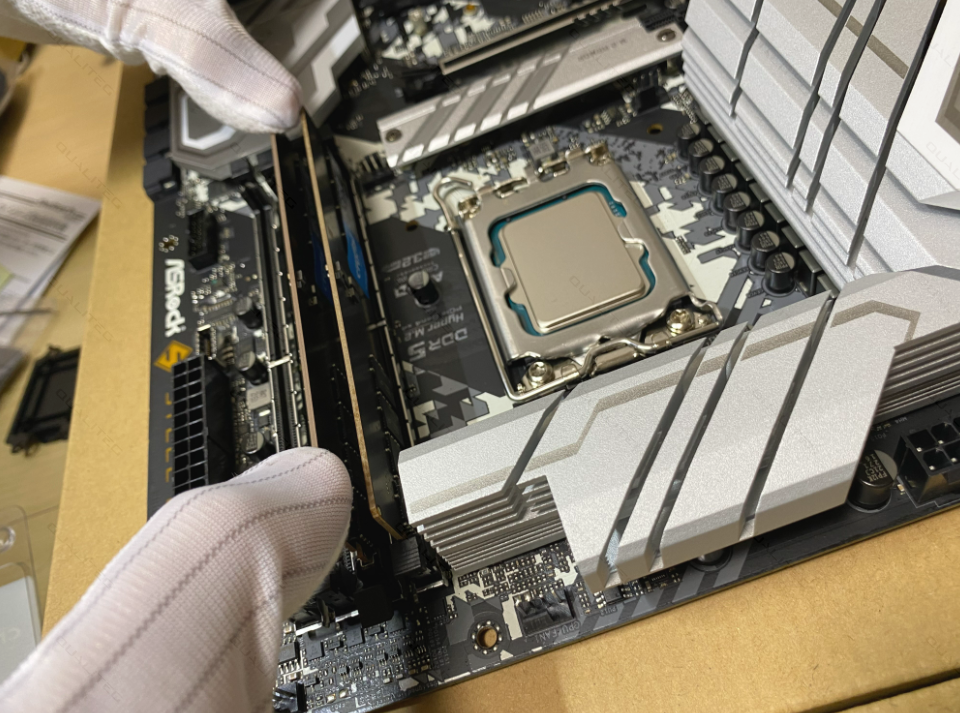
This time we inserted the modules into slots 1 and 2 without giving it much thought, but you should really check the motherboard manual to see which slots are recommended.
When installing two memory modules, the manuals for many motherboards state that memory read/write efficiency is better if you skip a slot, for example using slots 1 and 3, or slots 2 and 4.
4. Installing the SSD
Next, we install the SSD. When you unbox it, an SSD like this comes out.
The SSD we bought this time is the SAMSUNG 980 PRO 2T M.2 NVMe, a model that comes with its own heatsink.
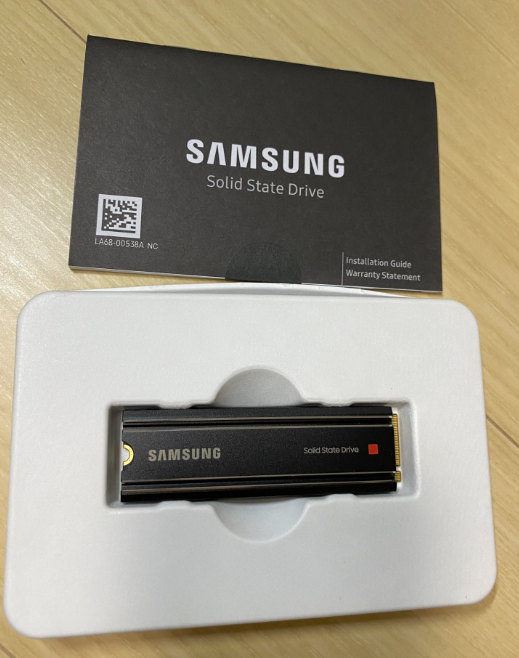
M.2 SSDs come in versions with and without a heatsink, but our motherboard, the ASRock Z690 Steel Legend WiFi 6E/D5, comes standard with M.2 Armor, a well-regarded M.2 heatsink.
Since we bought an SSD with its own heatsink, we will remove the motherboard's stock heatsink by unscrewing it with a screwdriver.
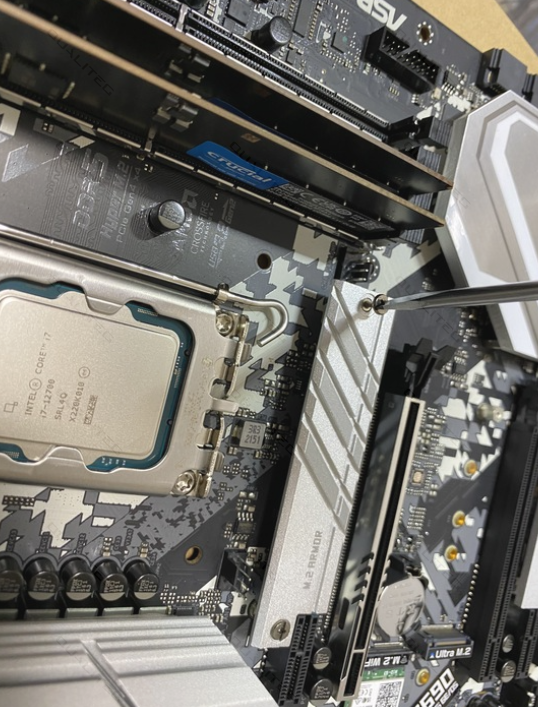
If you like the motherboard's stock look, buying an SSD without a heatsink is a perfectly good option too.
As you can see, once the stock M.2 heatsink is removed, the M.2 slot is revealed.
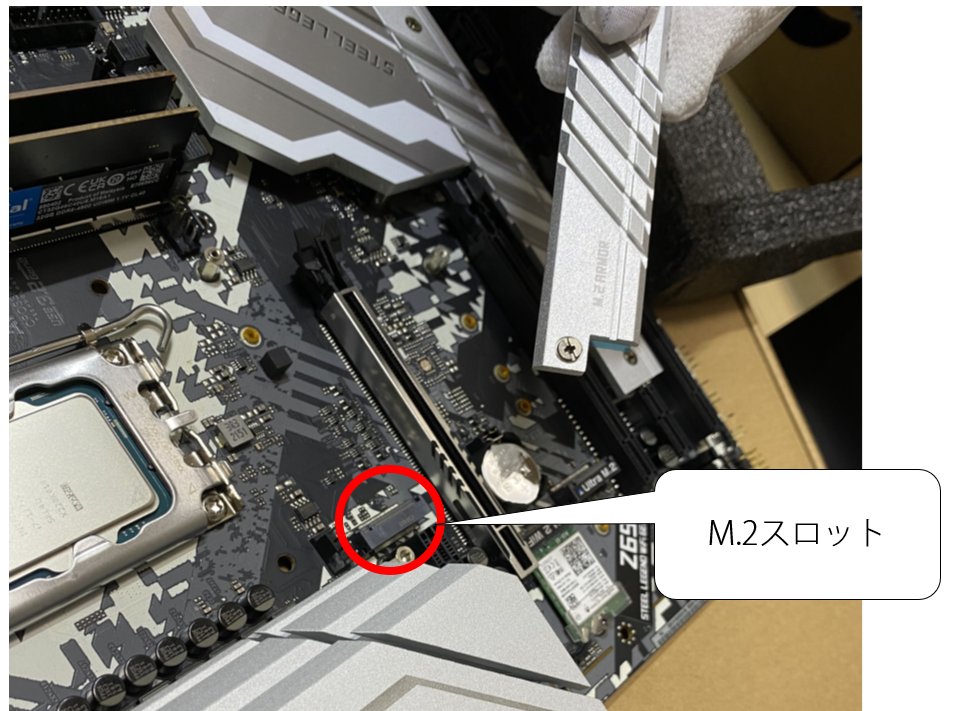
Insert the SSD into the M.2 slot,
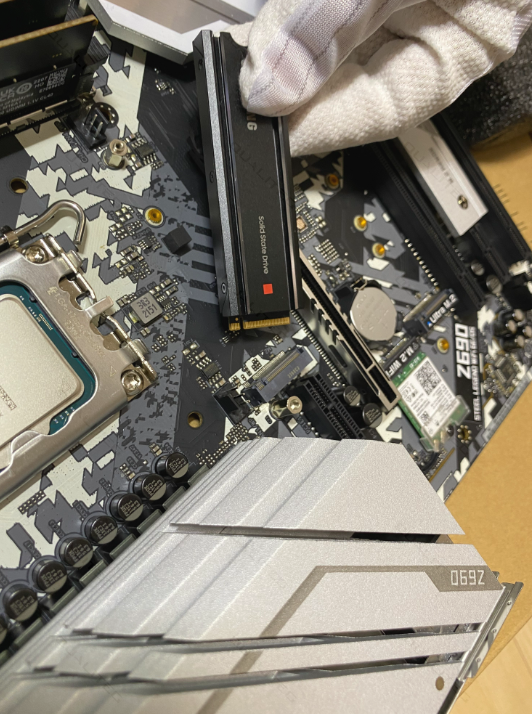
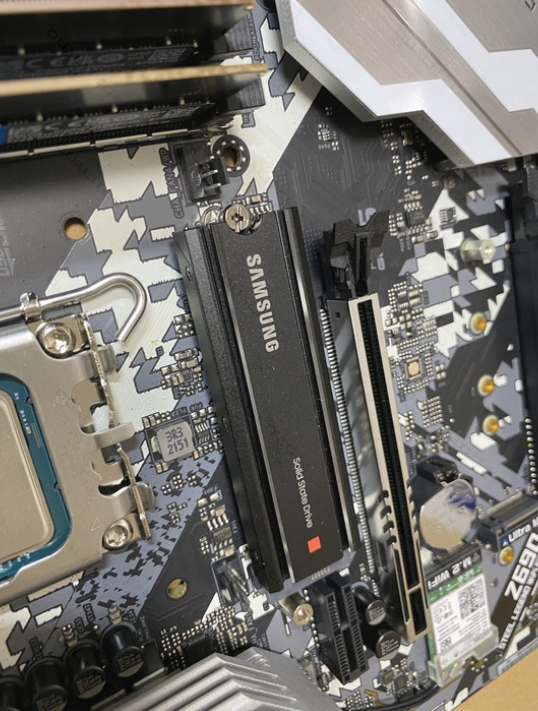
and the SSD installation is complete.
5. Installing the CPU Cooler
Now let's attach the CPU cooler.
The one we are installing this time is the retail (stock) cooler that comes bundled with the CPU.
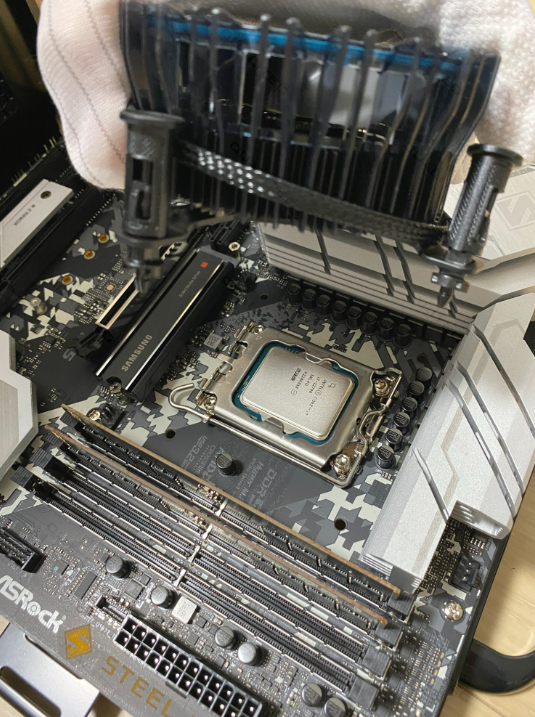
Hold the cooler so that its push pins line up with the four holes around the CPU,
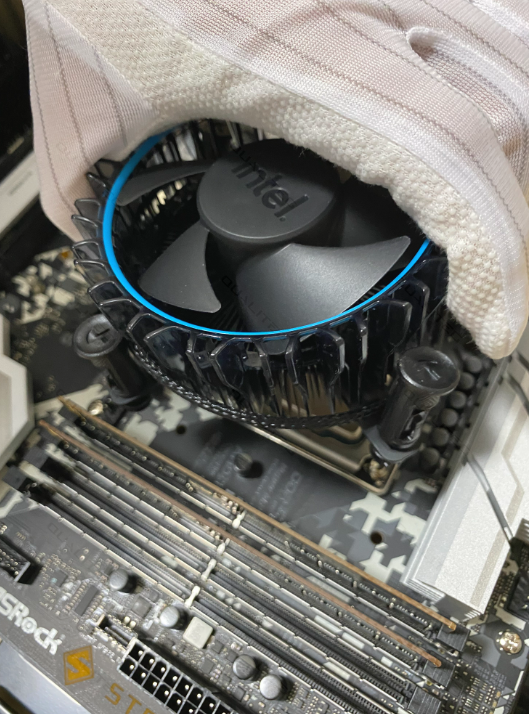
and once the tips of the pins touch the holes, press the tops of the pins in until they click.
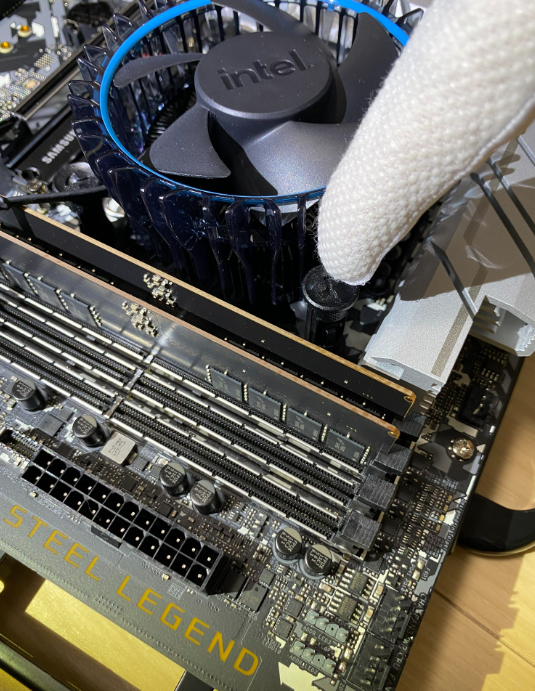
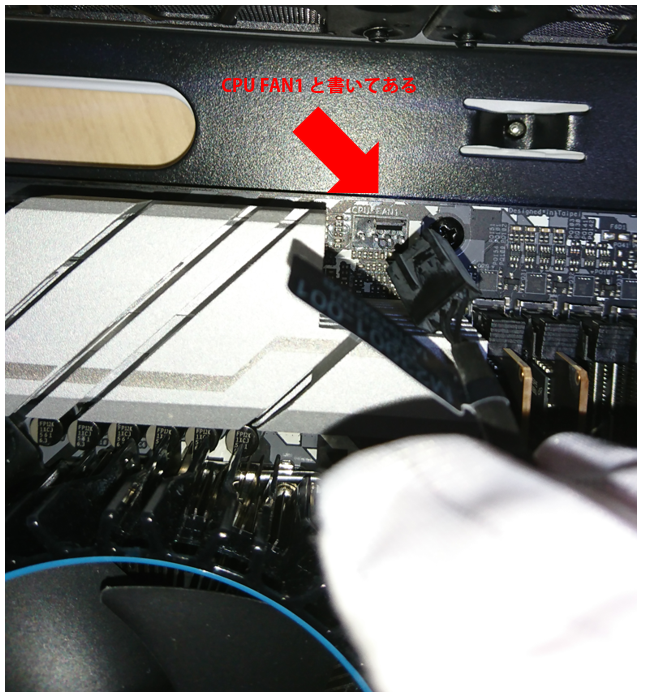
Next, plug the CPU cooler's power connector into the CPU fan header on the motherboard. You can see it labeled CPU FAN1 on the board.
Looking beyond DIY builds toward GPU environments for research and business?
The know-how gained from building your own GPU machine carries over directly to infrastructure choices for research, PoCs, and production.
We build and operate our own GPU cluster in-house and develop LLM products on it. We can also support a wide range of needs, from procuring GPU workstations for research to Intel Core and Intel Xeon architectures, covering everything from consumer to professional use. Beyond helping you procure and build workstations, we advise on what comes next, from setting up training environments to selecting the right GPUs, optimizing inference, and designing distributed configurations, all based on hands-on operational experience.
See our LLM infrastructure and platform technology services →In the next installment, we will mount the motherboard in the case and continue the assembly from there.
navigation



