
Building a GPU PC, Part 13: Connecting the Power Cables

We are now in the final stretch of the build. Let's keep going!
1. Connect the motherboard power cable
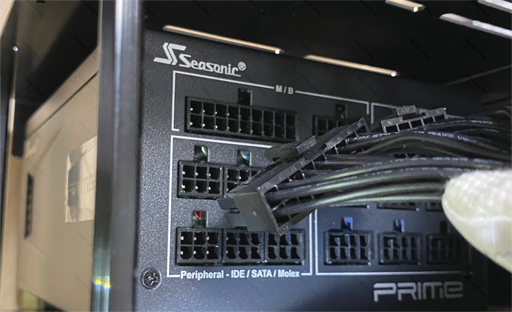
The 24-pin ATX cable is the one with the largest bundle of wires. First, plug it into the connector labeled M/B on the power supply side.
Next, plug the same cable into the motherboard side.
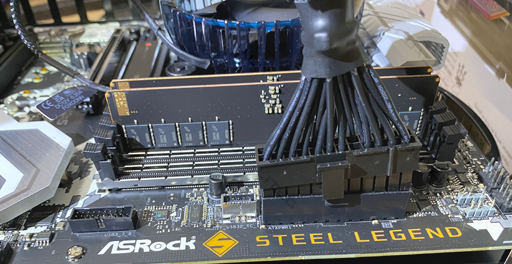
Seat it firmly so that the latch clicks into place.
2. Connect the CPU power cable
Next up is the CPU cable. It usually comes in a 6-pin + 2-pin configuration, and again it connects to both the power supply side and the motherboard side.
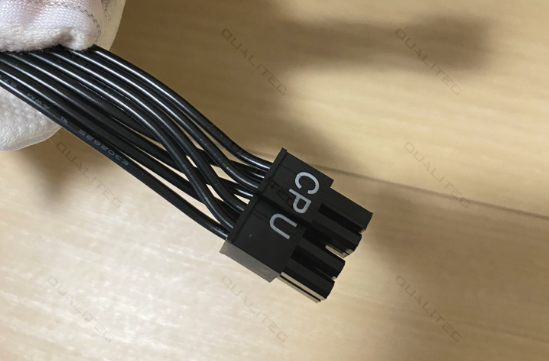
First, plug one end into the connector labeled CPU/PCI-E on the power supply side.
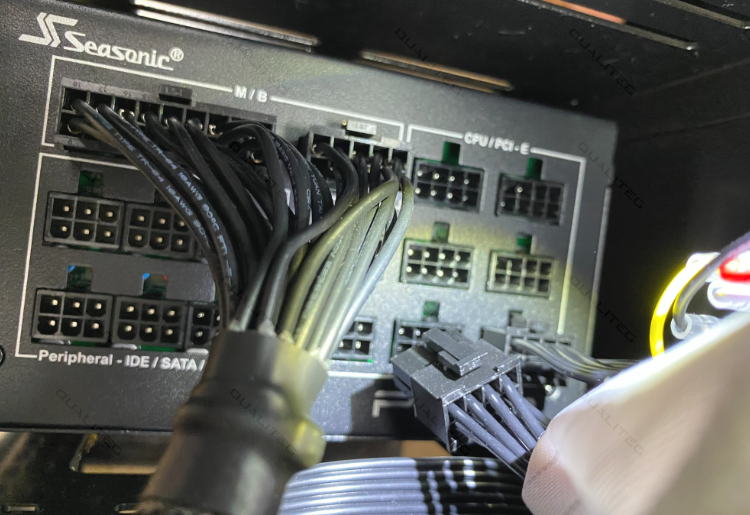
Then plug the other end into the motherboard.
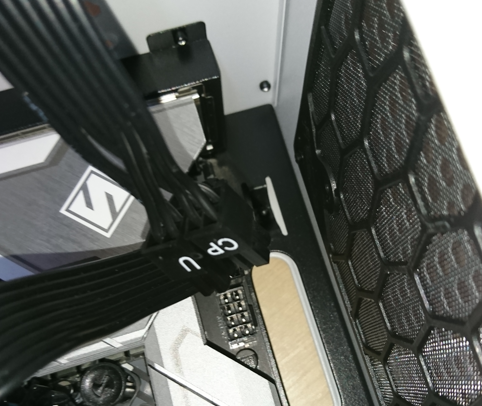
It's firmly seated.
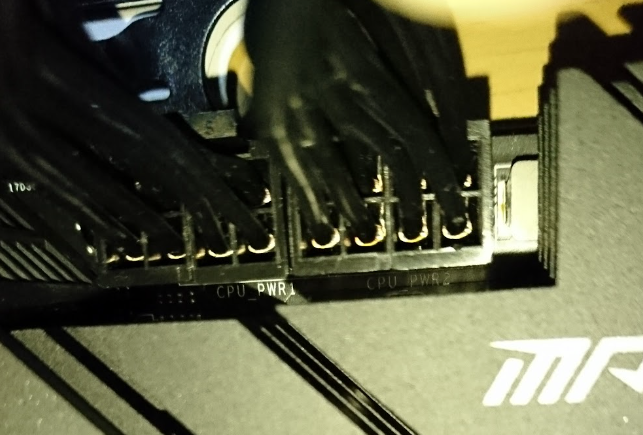
On the motherboard, the connectors may be labeled CPU PWR1 and CPU PWR2, or simply ATX12V1 and ATX12V2. The labeling varies by manufacturer.
3. Connect the graphics card power cable
It depends on the type of graphics card, but large cards need a lot of power. The graphics card in this build requires three PCIe power feeds, so on the card side we use a 3-in-1 style splitter PCIe power cable.
First, plug the female end of the splitter PCIe cable into the GPU's external power connector.
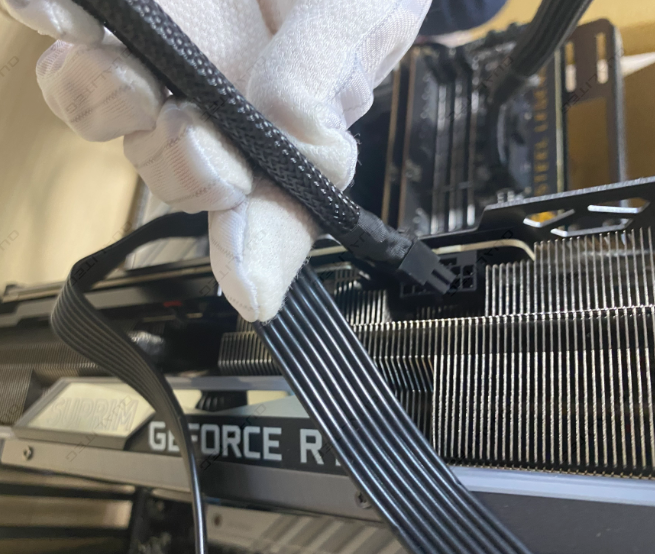
The other end splits into three like this.
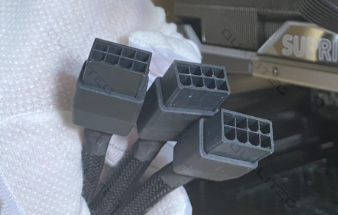
Now that the three-way splitter power connector is attached to the graphics card,
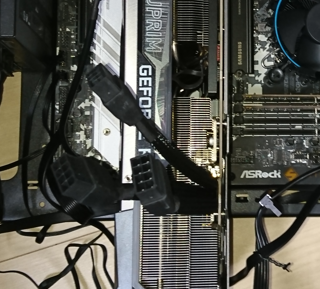
let's bring over the three-way power cables that connect to the power supply side.
You will need three male PCIe power connectors like these.
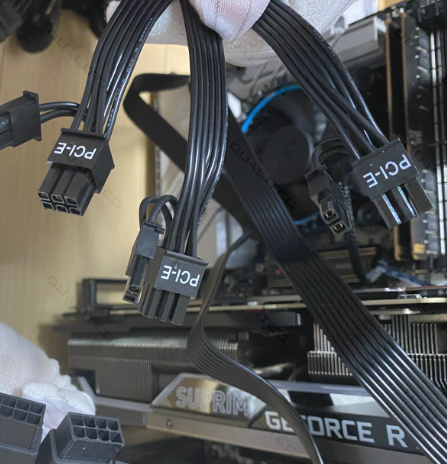
Connecting each of them looks like this.
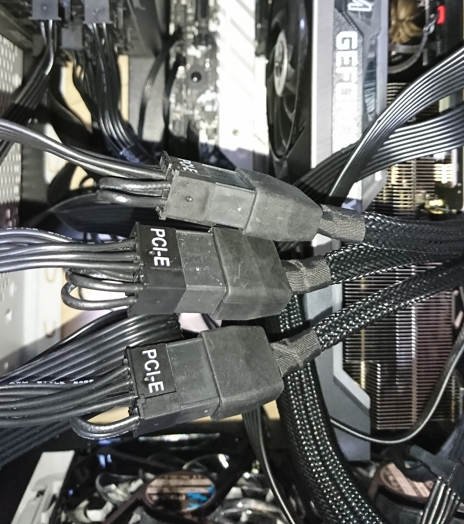
Next, connect these three PCIe power cables to the power supply unit.
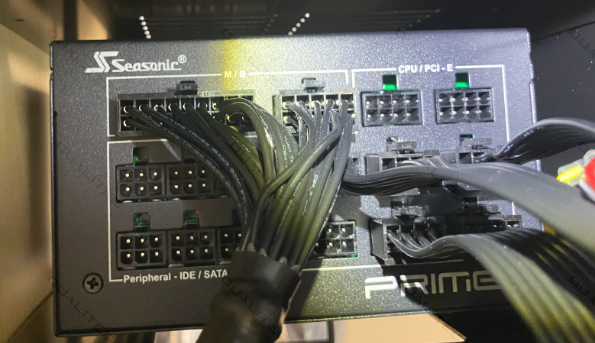
Once they are connected to the PCI-E connectors like this, power to the graphics card is all set.
4. Connect the SATA power cable
Finally, let's connect the SATA power cable.
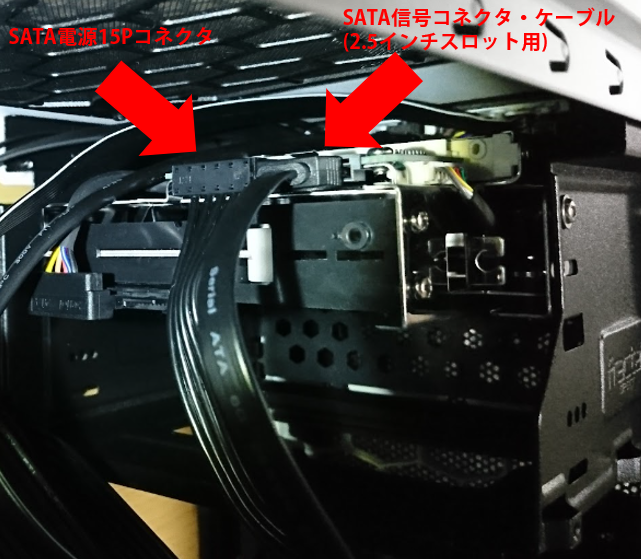
For dual booting, I use a 2.5-inch SATA drive in addition to the M.2 SSD. Since I have ambitions of making that SATA drive swappable, I installed a SATA removable drive enclosure in the 5-inch bay.
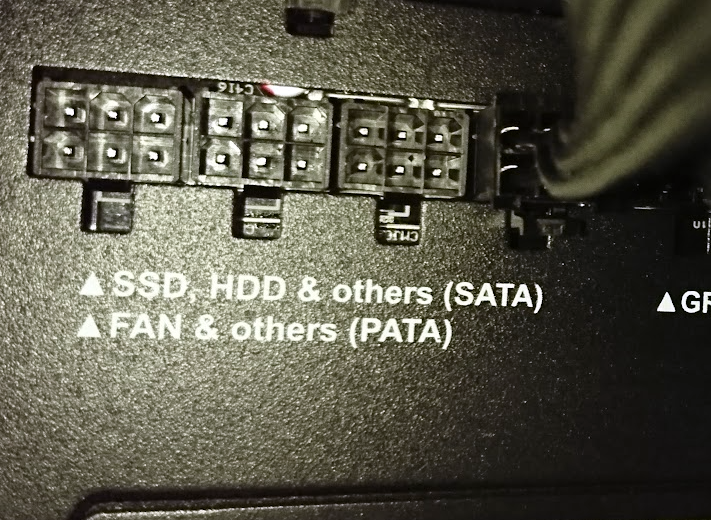
The power cable we connect now is for that enclosure: among the power cables coming from the removable enclosure, connect the 2.5-inch SATA power cable to the power supply unit.
Power supply side
With that, all the wiring is done!
All that's left is to screw the case panels back on, and the build is complete!
That wraps up the assembly series!
Looking beyond DIY builds toward GPU environments for research and business?
The know-how gained from building your own GPU machine carries over directly to infrastructure choices for research, PoCs, and production.
We build and operate our own GPU cluster in-house and develop LLM products on it. We can also support a wide range of needs, from procuring GPU workstations for research to Intel Core and Intel Xeon architectures, covering everything from consumer to professional use. Beyond helping you procure and build workstations, we advise on what comes next, from setting up training environments to selecting the right GPUs, optimizing inference, and designing distributed configurations, all based on hands-on operational experience.
See our LLM infrastructure and platform technology services →Thank you for following along. The parts we picked up in Akihabara have now come together as a single PC. Building it yourself really does make you grow attached to it.
Starting next time, we will begin the software installation series, covering everything from the OS to AI-related software, to turn this GPU machine into an AI machine!
navigation



