
Building a GPU PC, Part 17: Software – Installing the NVIDIA Display Driver on Ubuntu

Hello!
In this installment, we install the NVIDIA display driver so that we can use the GPU on Ubuntu.
3.2 Installing the NVIDIA Display Driver
We will install the display driver that supports the GPU we purchased, an NVIDIA RTX 3090 Ti 24GB.
3.2.1 Downloading the Driver
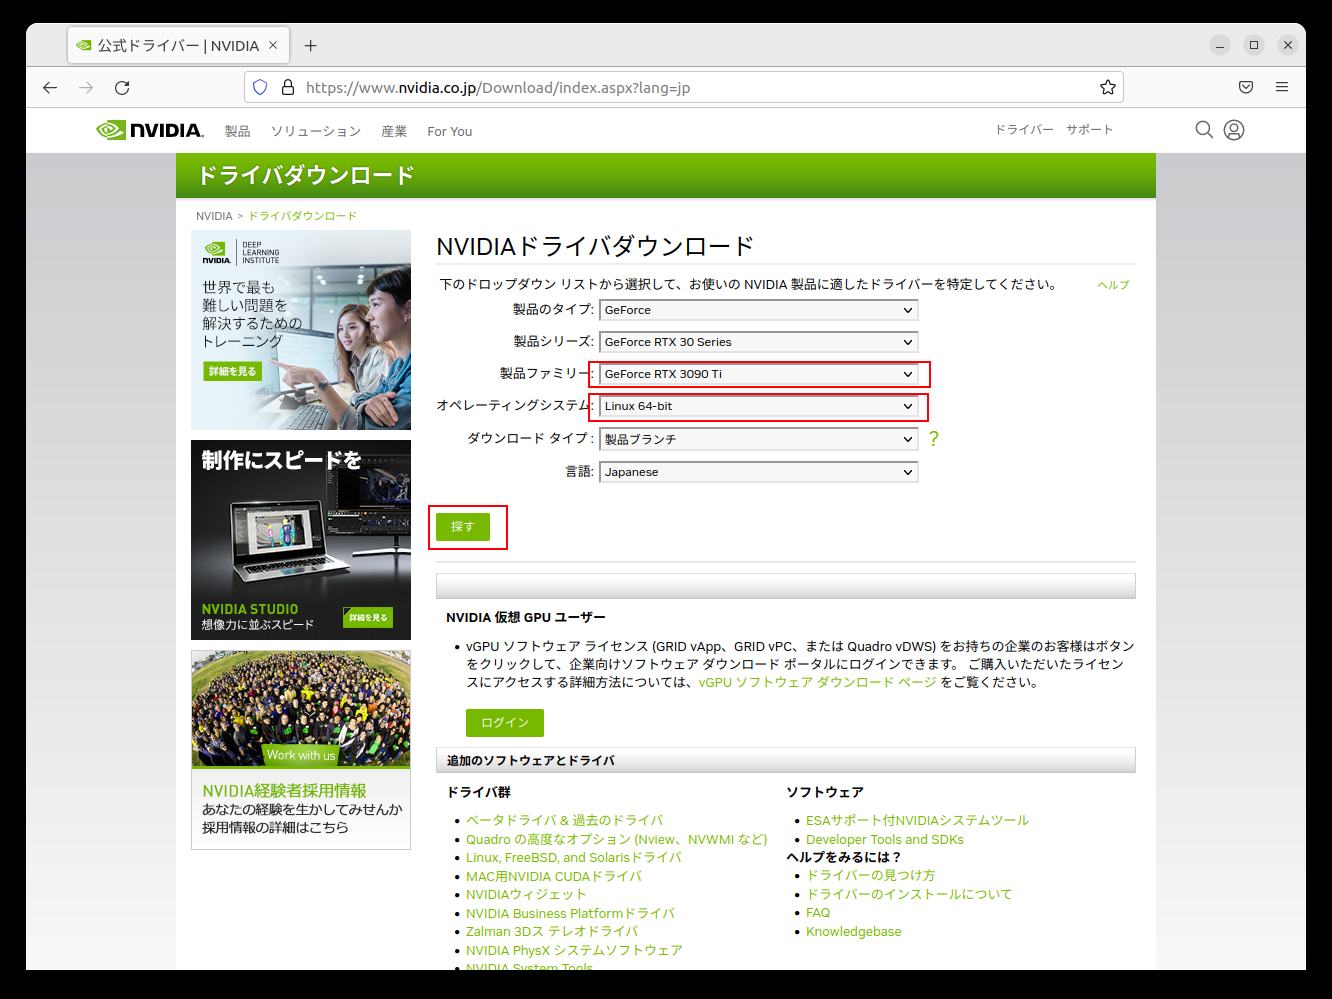
Go to the following site and look for the driver for the RTX 3090 Ti.
https://www.nvidia.co.jp/Download/index.aspx?lang=jp
Select your environment (RTX 3090 Ti, Linux) and click Search, and it will conveniently find the right driver for you.
Review the license, and once you agree, click Agree & Download.
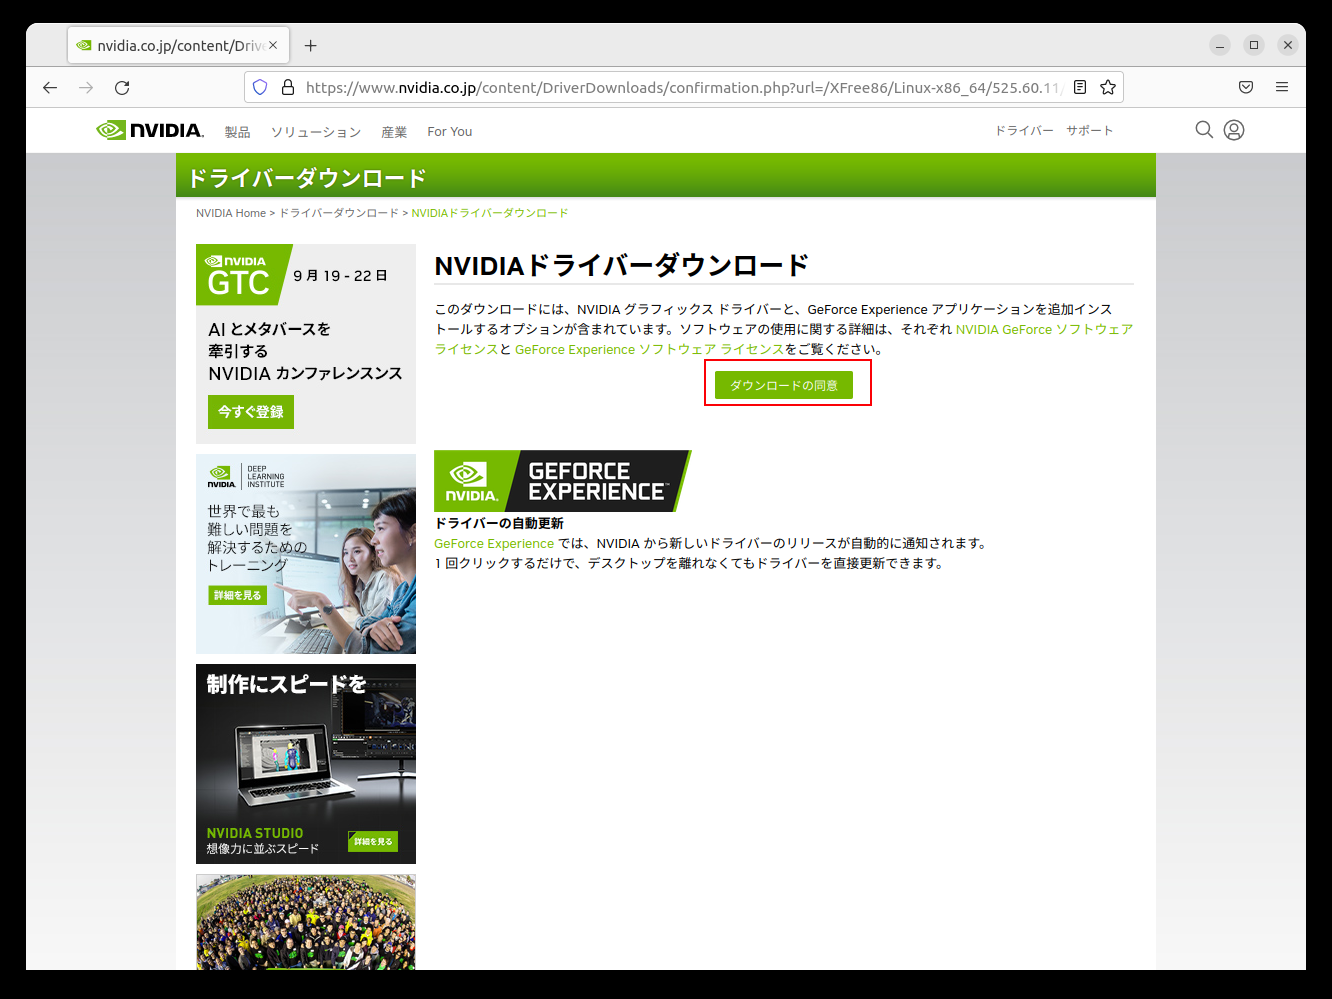
The file will now be downloaded to the downloads directory as NVIDIA-Linux-x86_64-525.60.11.run.
3.2.2 Installing the gcc Build Tools
Before running the installer script for the driver we just downloaded, we need to install gcc, the compiler used to build the driver.
Open a terminal and run the following command.
sudo apt install build-essential
Note that if you forget to install gcc, you will see an error like the following.
ERROR: Unable to find the development tool`cc` in your path; please make sure that you have the package 'gcc' installed. If gcc is installed on your system, then please check that `cc` is in your PATH.
Once that finishes, reboot the machine.
sudo reboot
3.2.3 Installing the NVIDIA Display Driver
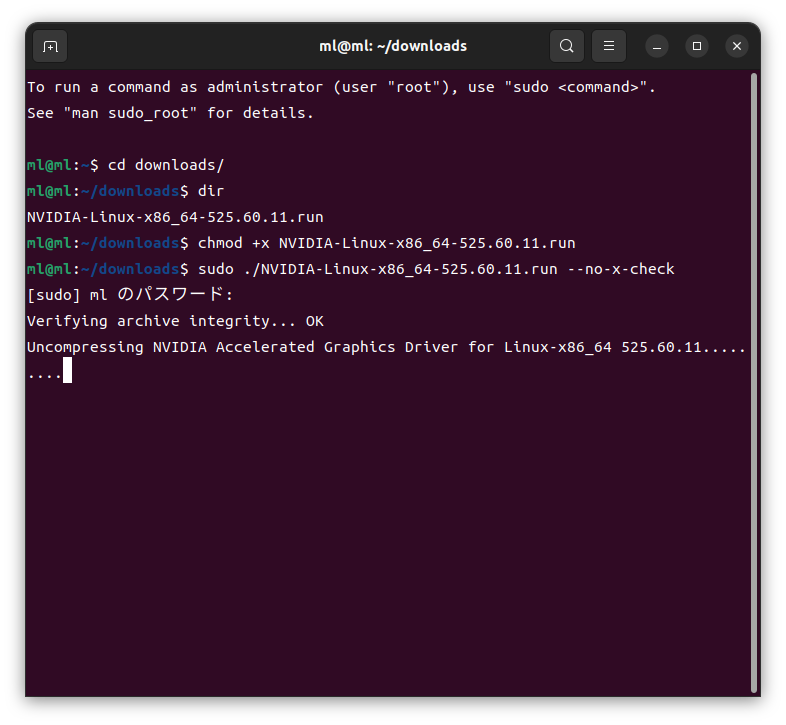
STEP 1. Run the following commands to launch the installer script.
cd downloads/
Make the script executable,
chmod +x NVIDIA-Linux-x86_64-525.60.11.run
and then run it.
sudo ./NVIDIA-Linux-x86_64-525.60.11.run --no-x-check
(If you omit the --no-x-check option, you will get the error You appear to be running an X server; please exit X before installing., so be sure to include it.)
STEP 2. The driver installation begins.
STEP 3. When the following screen appears, select Continue installation.
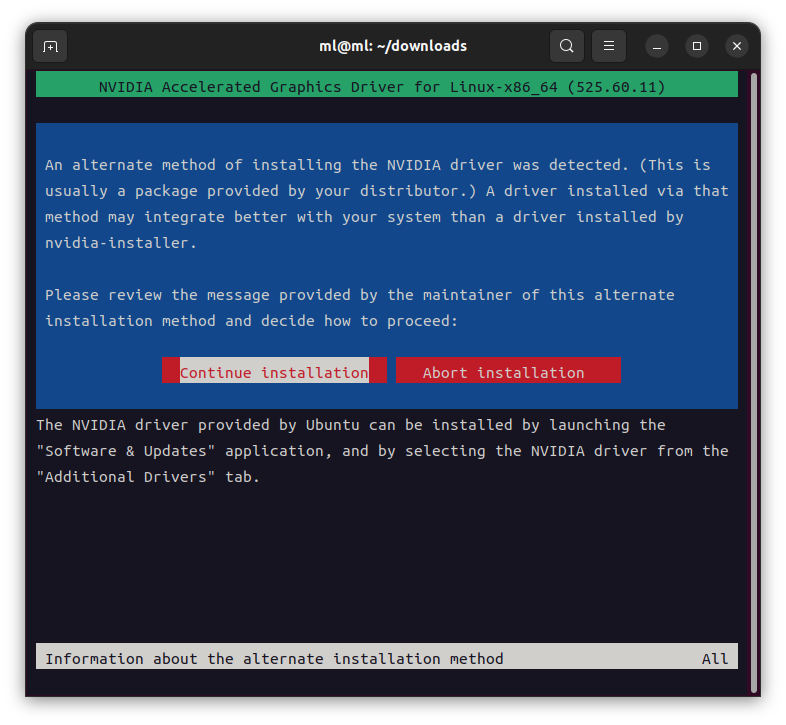
The message An alternate method of installing the NVIDIA driver was detected(This is usually a package provided by your distributor.) is helpfully telling you that Ubuntu offers another way to install the driver. However, the apt install approach does not always work depending on your environment, so we recommend sticking with the NVIDIA installer.
STEP 4. On the following screen, select OK.
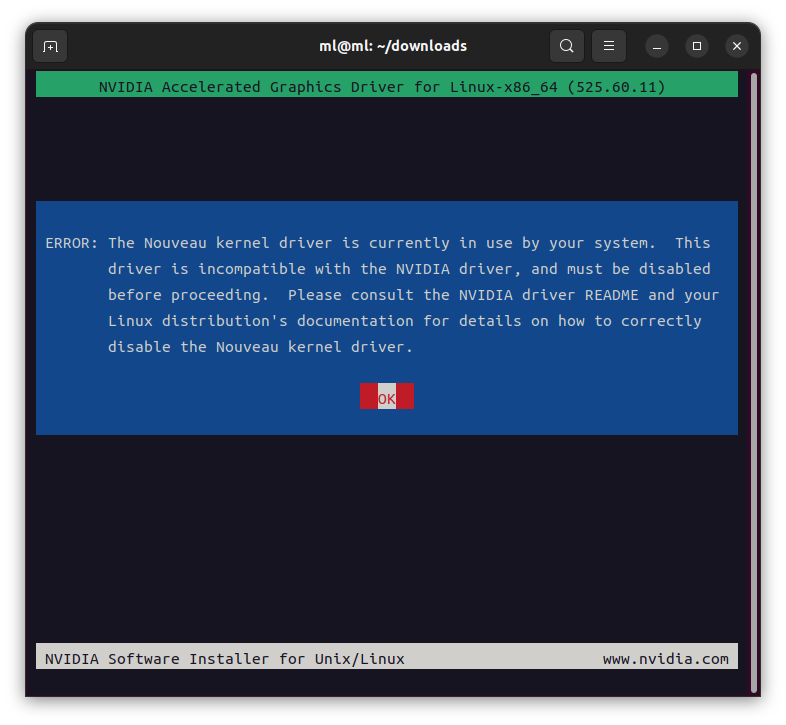
You will see ERROR: The Nouveau kernel driver is currently in use by your system.This driver is incompatible with the NVIDIA driver, and must be disabled before proceeding. . In other words, this is a warning that the NVIDIA driver cannot be installed while the Nouveau kernel driver is present. The next step will take care of it, so just press OK.
STEP 5. On the following screen, select YES.
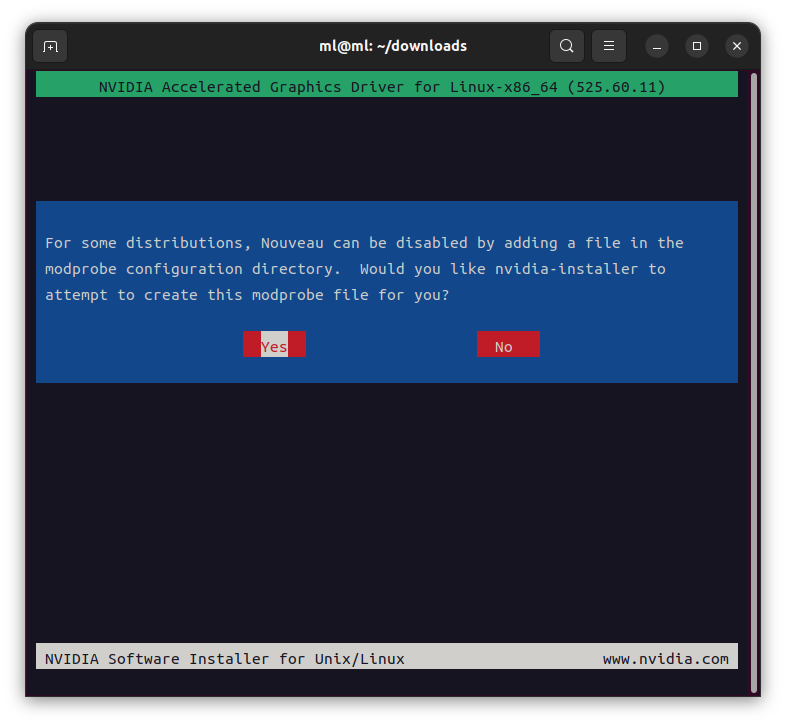
For some distributions, Nouveau can be disabled by adding a file in...
The installer is asking, "Nouveau may be able to be disabled. Would you like to try?", so select YES.
In practice, this does successfully disable it.
STEP 6. On the following screen, select OK.
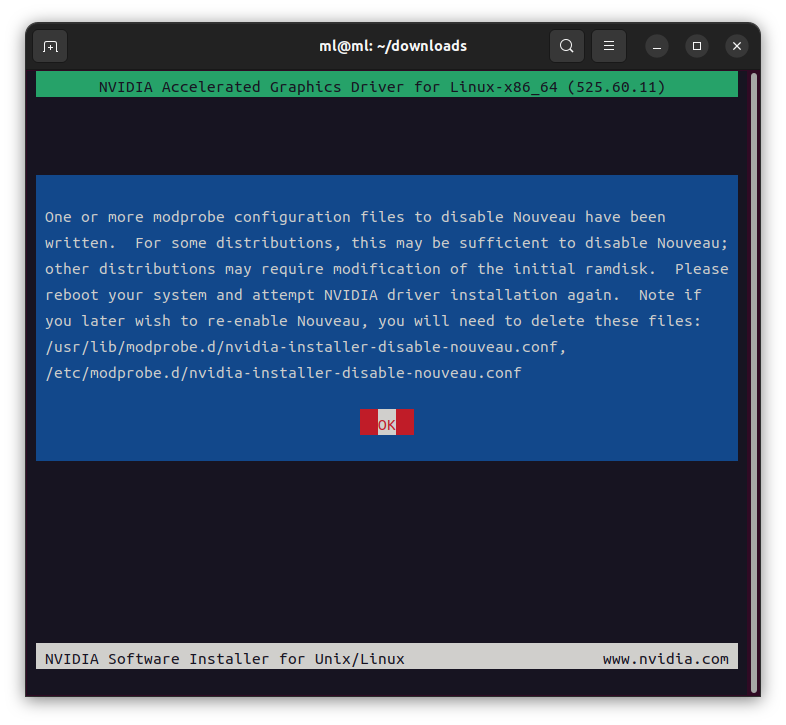
This message indicates that a *.conf file for disabling Nouveau has been created.
STEP 7. On the following screen, select OK.
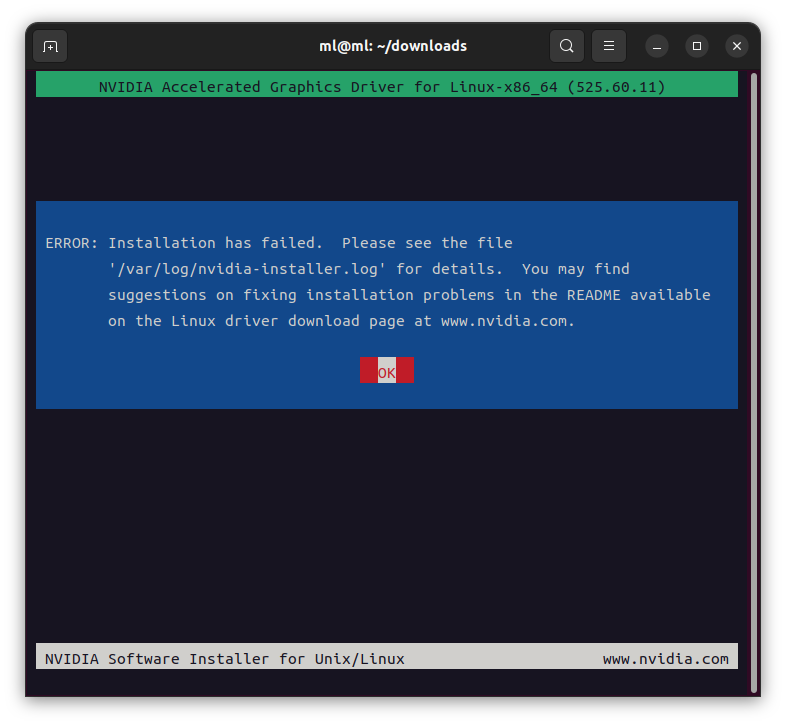
You will see a message like Installation has failed.Please see the file ..., i.e. the installation has failed, but don't be discouraged.
We have just disabled the Nouveau driver, so the next installation attempt will succeed. There is nothing to worry about.
STEP 8. Reboot
Reboot with the following command.
sudo reboot
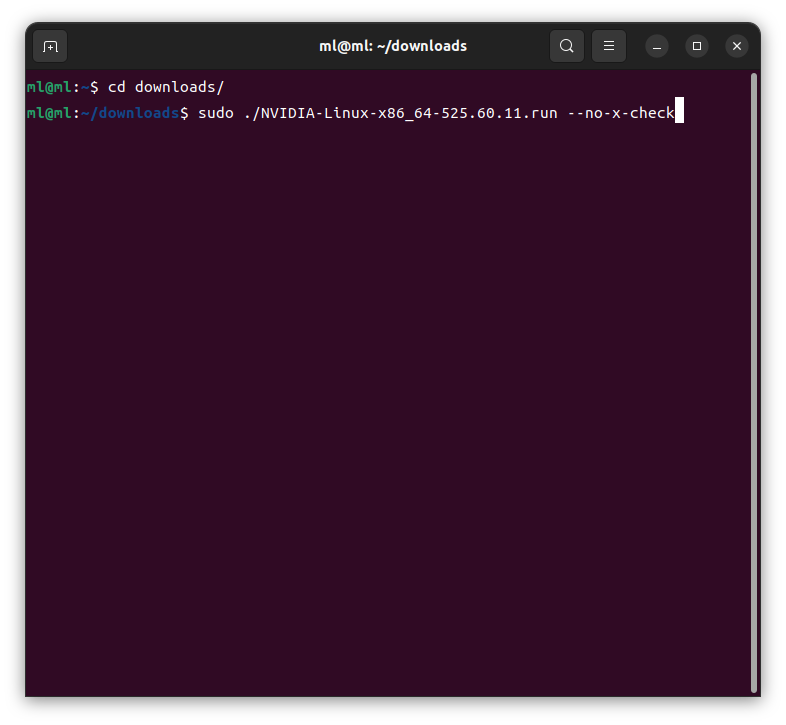
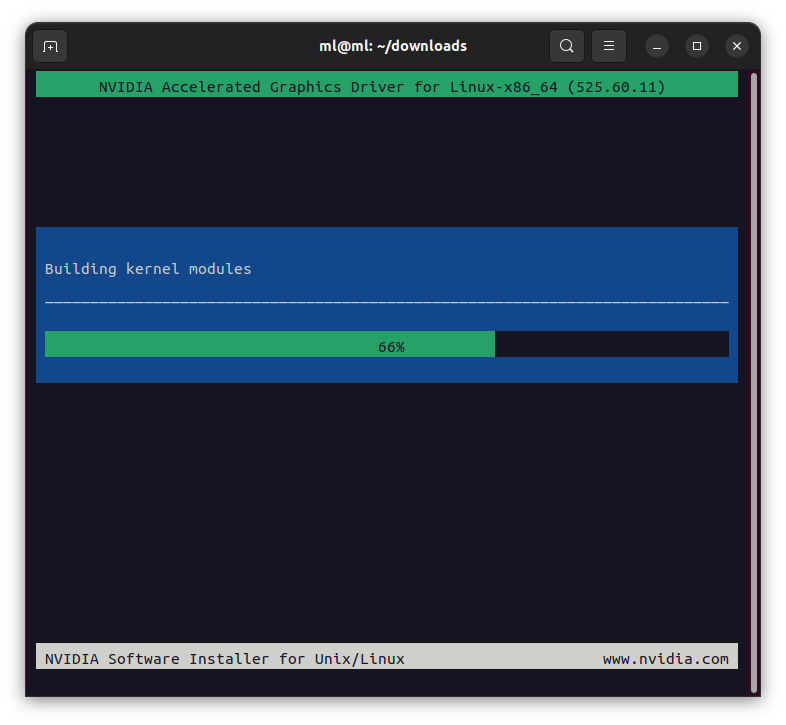
STEP 9. After rebooting, open a terminal and run the installer script again.
sudo ./NVIDIA-Linux-x86_64-525.60.11.run --no-x-check
STEP 10. On the following screen, select No.
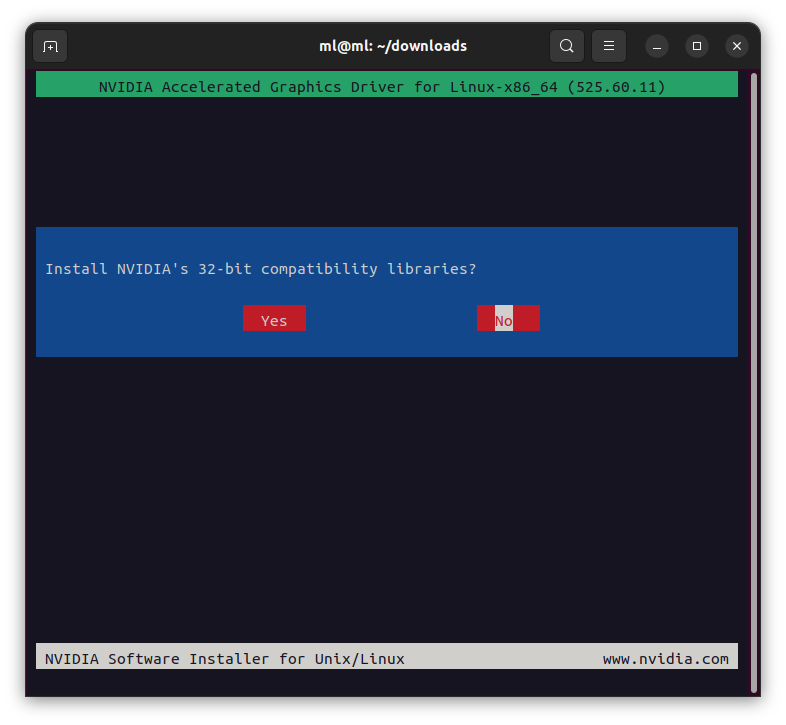
We don't need the 32-bit compatibility libraries.
STEP 11. On the following screen, select
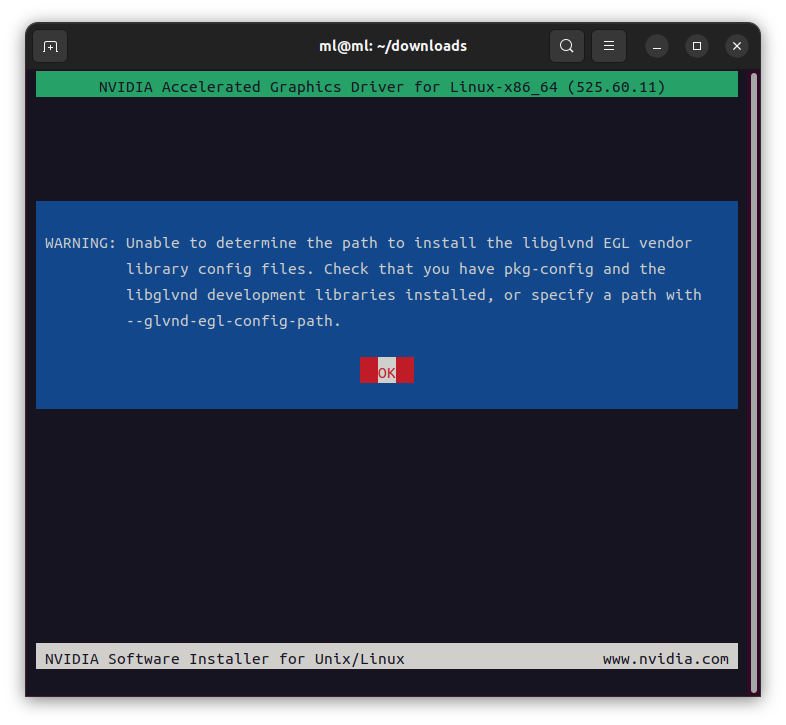
OK.
You will see WARNING: Unable to determine the path to install the libglvnd EGL vendor library config files. Check that you have pkg-config and the libglvnd development libraries installed, or specify a path with --glvnd-egl-config-path. .
If this WARNING bothers you, it is perfectly fine to install libglvnd by running the following.
sudo apt install pkg-config libglvnd-dev
libglvnd is a vendor-neutral dispatch layer for arbitrating OpenGL API calls between multiple vendors. It allows multiple drivers from different vendors to coexist on the same filesystem, and determines which vendor to dispatch each API call to at runtime.
(https://github.com/NVIDIA/libglvnd)
As described above, it is an OpenGL-related library, so in any case it is not needed for deep learning workloads.
STEP 12. On the following screen, select No.
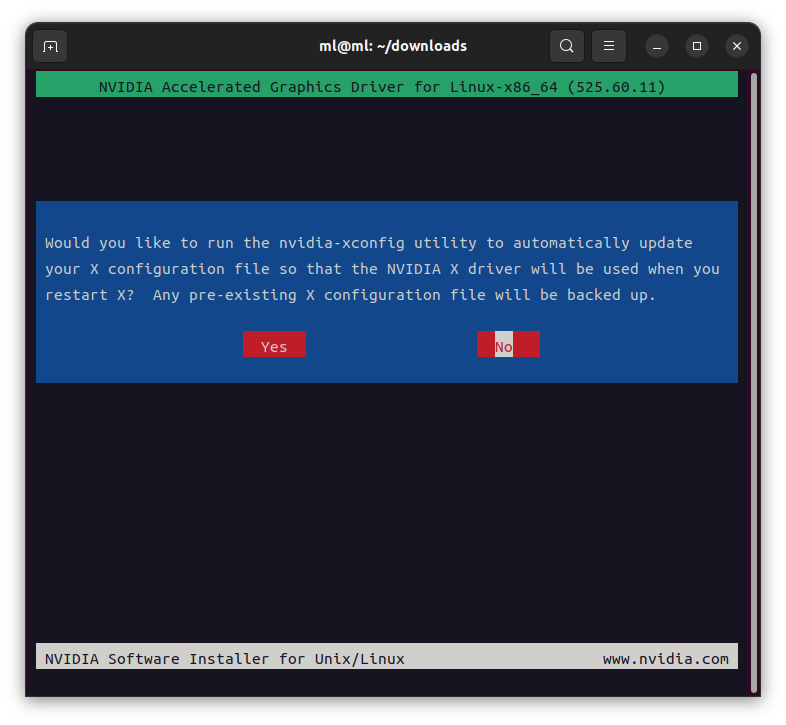
Would you like to run the nvidia-xconfig utility to ...
The installer is asking whether to update the X configuration.
For now, we proceed with No. You can run this at any time later using the nvidia-xconfig command.
STEP 13. On the following screen, select OK.
This completes the installation of the NVIDIA driver.
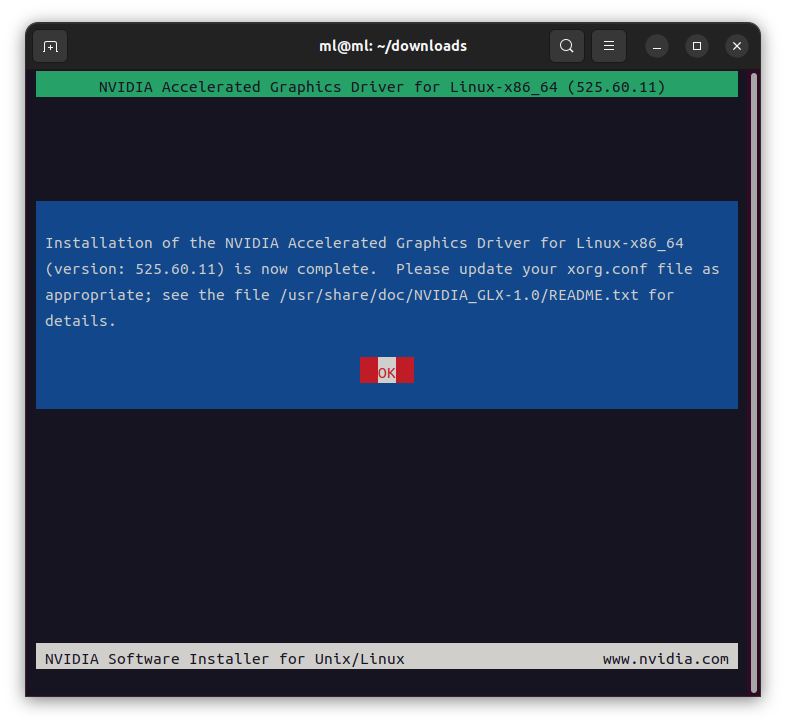
STEP 14. Reboot to apply the settings
Reboot to apply the settings made so far.
sudo reboot
STEP 15. After rebooting, verify that the NVIDIA driver was installed successfully
Open a terminal and run the following command.
nvidia-settings
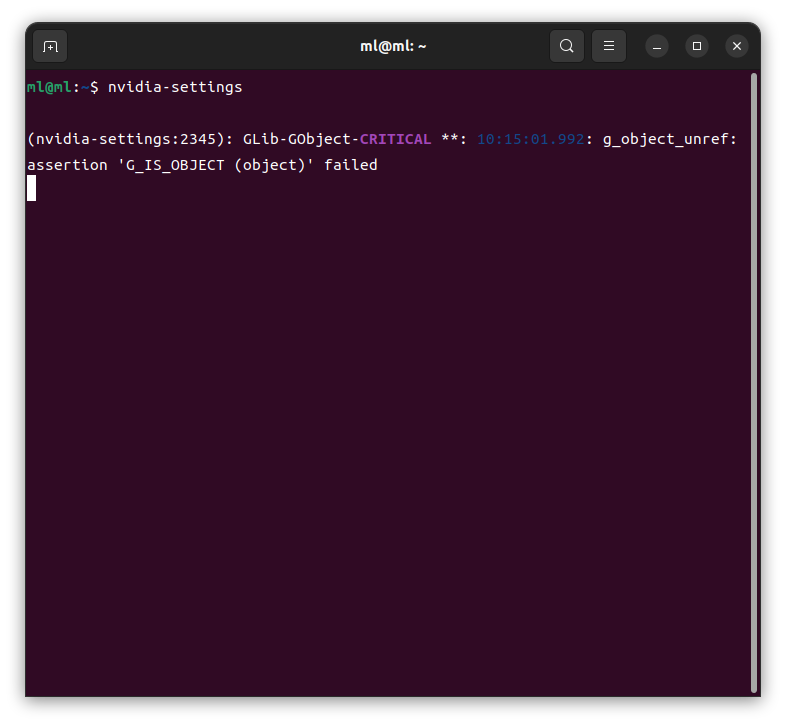
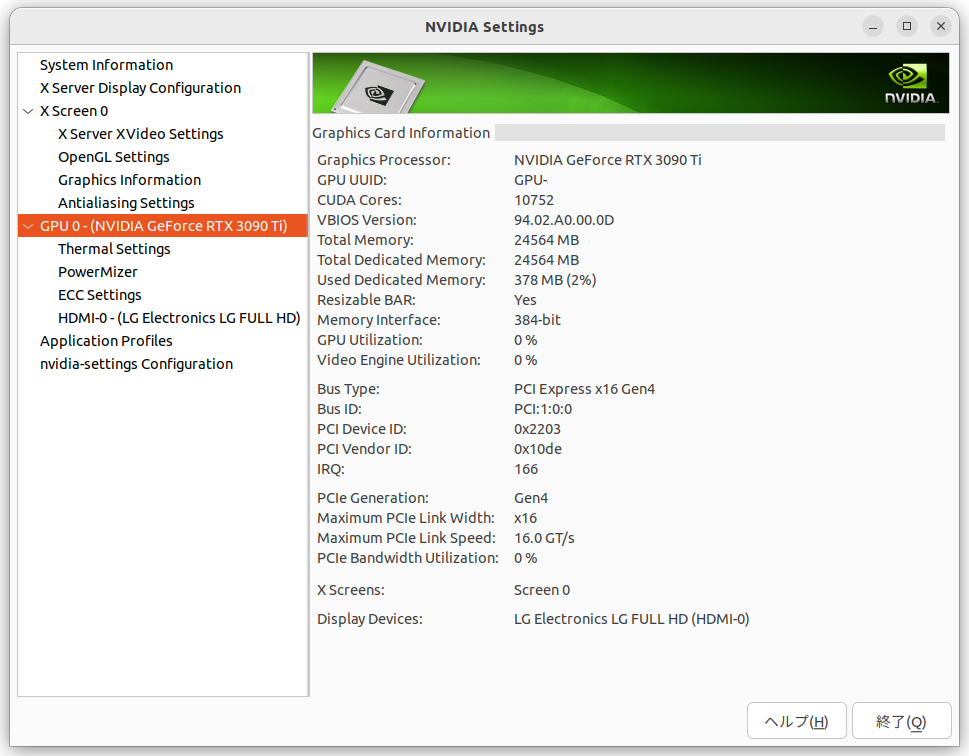
The OS correctly recognizes the GPU, and the driver has been installed successfully!
Looking beyond DIY builds toward GPU environments for research and business?
The know-how gained from building your own GPU machine carries over directly to infrastructure choices for research, PoCs, and production.
We build and operate our own GPU cluster in-house and develop LLM products on it. We can also support a wide range of needs, from procuring GPU workstations for research to Intel Core and Intel Xeon architectures, covering everything from consumer to professional use. Beyond helping you procure and build workstations, we advise on what comes next, from setting up training environments to selecting the right GPUs, optimizing inference, and designing distributed configurations, all based on hands-on operational experience.
See our LLM infrastructure and platform technology services →
Next time, we will install Anaconda and set up a Python environment!
navigation



