
Building a GPU PC, Part 12: Installing the Graphics Card on the Motherboard

This time, we finally install the star of the show: the graphics card.
1. Remove the PCI Express slot covers
The graphics card goes into the PCI Express Gen 5 x16 slot, so we remove the cover for that position.
Also, this graphics card occupies 4 slots, so we remove four slots' worth of covers starting from there.
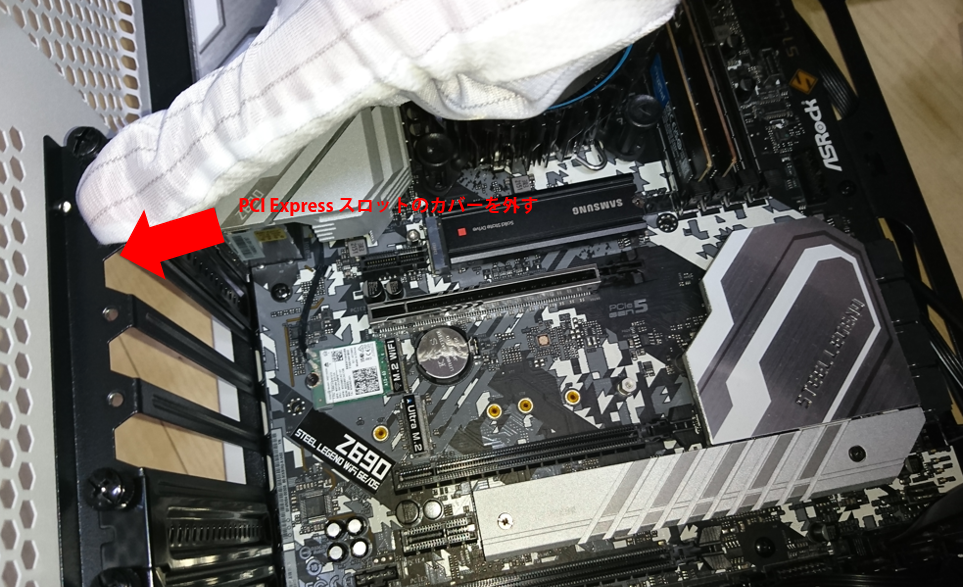
2. Unbox the graphics card
Now let's finally unbox the graphics card, the most expensive part in this build.
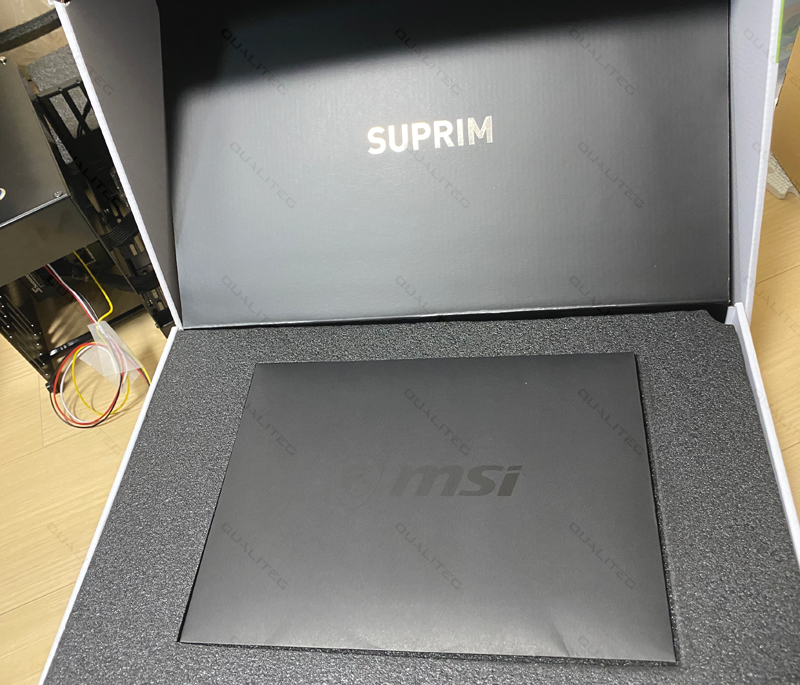
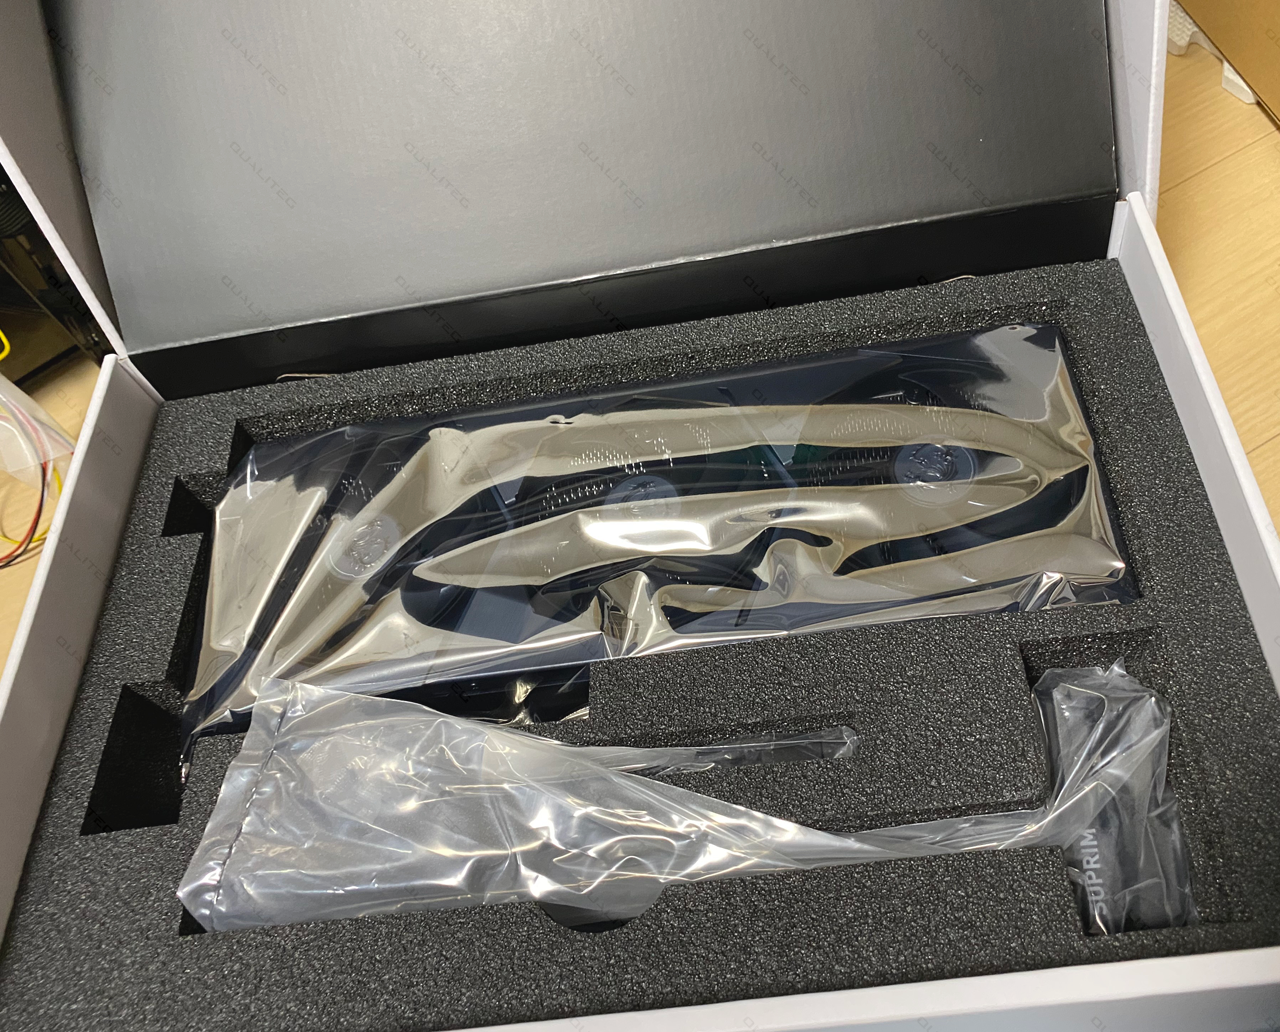
Inside are the graphics card itself and a support bracket.
Taking it out of the bag, the massive 34 cm MSI SUPRIM X GeForce RTX 3090 Ti makes its appearance.
The heatsink is impressive.
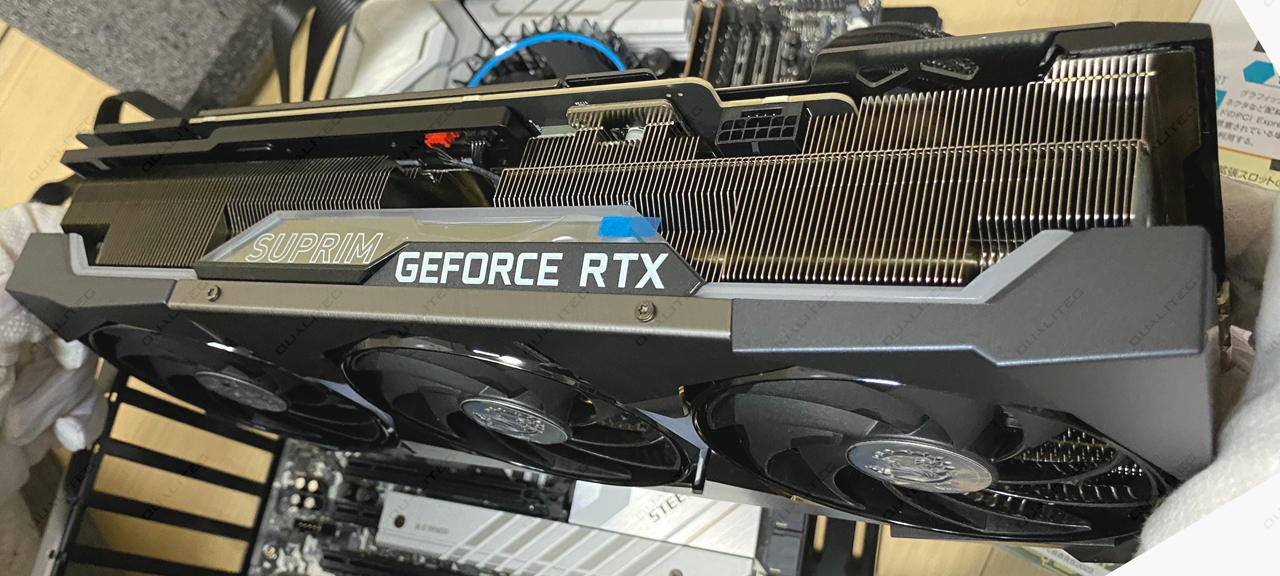
This side has three fans. The MSI dragon logo looks great.
Consumer graphics cards really do look cool.
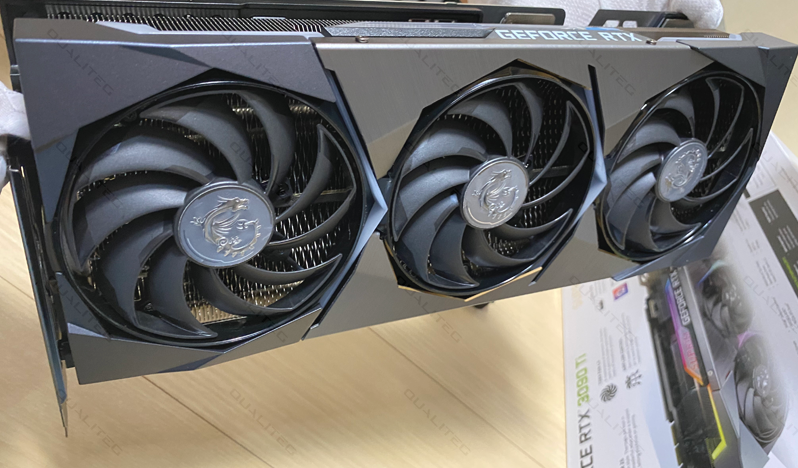
Now, let's go ahead and install this graphics card in the PCI Express slot. The connector edge actually has a cover on it,
so first, remove that cover.
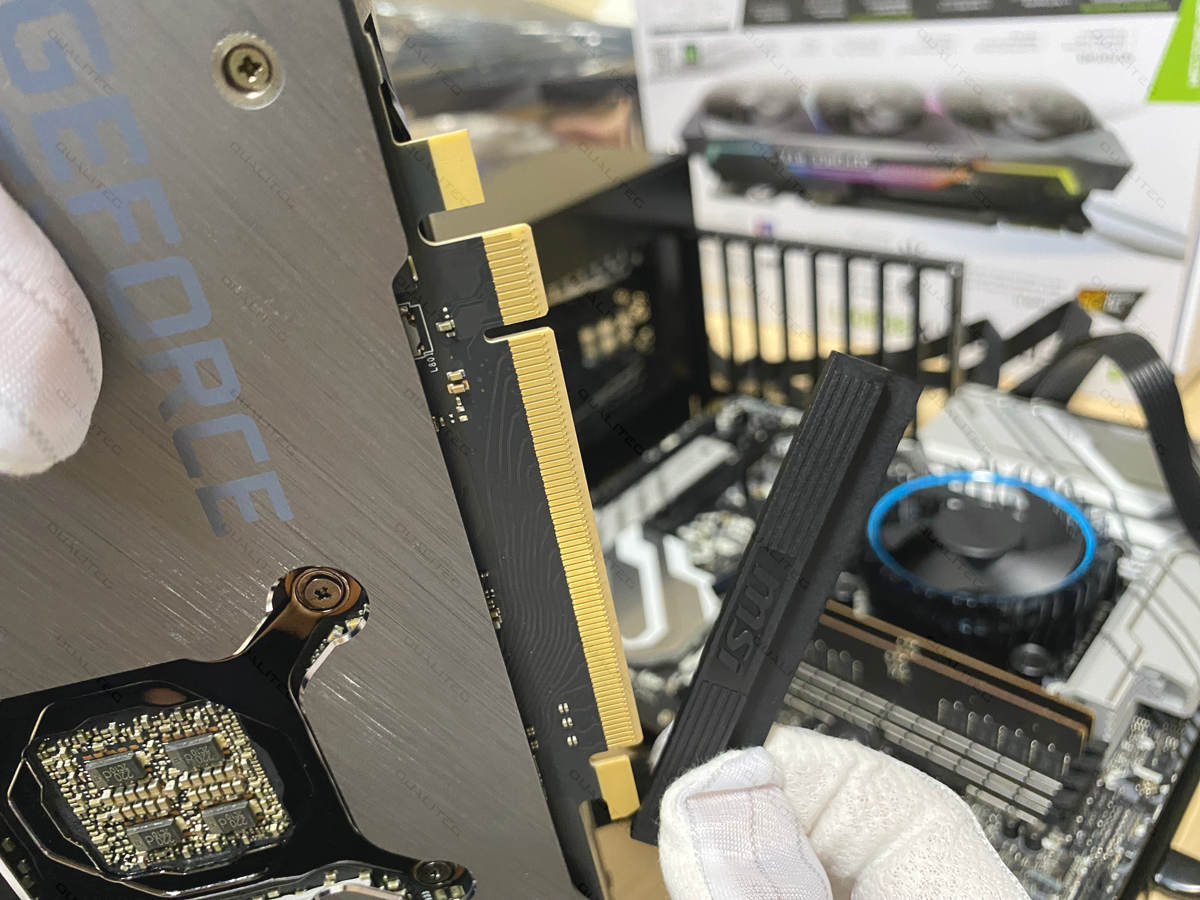
With the connector cover removed, carefully insert the card into the PCI Express x16 slot.
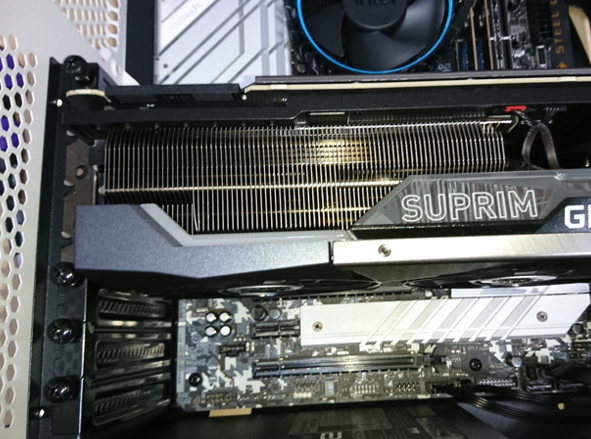
Once it is inserted, screw it down securely.
With that, the GPU is safely installed.
Looking beyond DIY builds toward GPU environments for research and business?
The know-how gained from building your own GPU machine carries over directly to infrastructure choices for research, PoCs, and production.
We build and operate our own GPU cluster in-house and develop LLM products on it. We can also support a wide range of needs, from procuring GPU workstations for research to Intel Core and Intel Xeon architectures, covering everything from consumer to professional use. Beyond helping you procure and build workstations, we advise on what comes next, from setting up training environments to selecting the right GPUs, optimizing inference, and designing distributed configurations, all based on hands-on operational experience.
See our LLM infrastructure and platform technology services →Next time, we will connect the power cables to the power supply unit.
navigation



